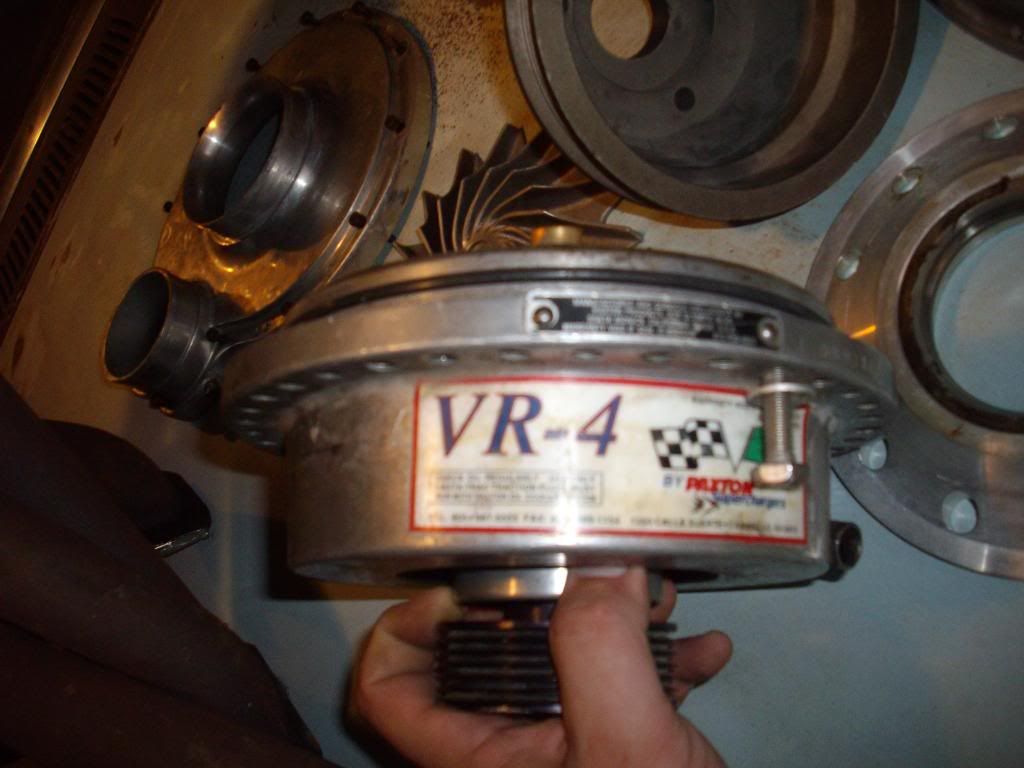
I just bought a VR4 set up and personally have spoken with Craig Conley at Paradise wheels and this is what he gave me for spec's for rebuilding the VR4.
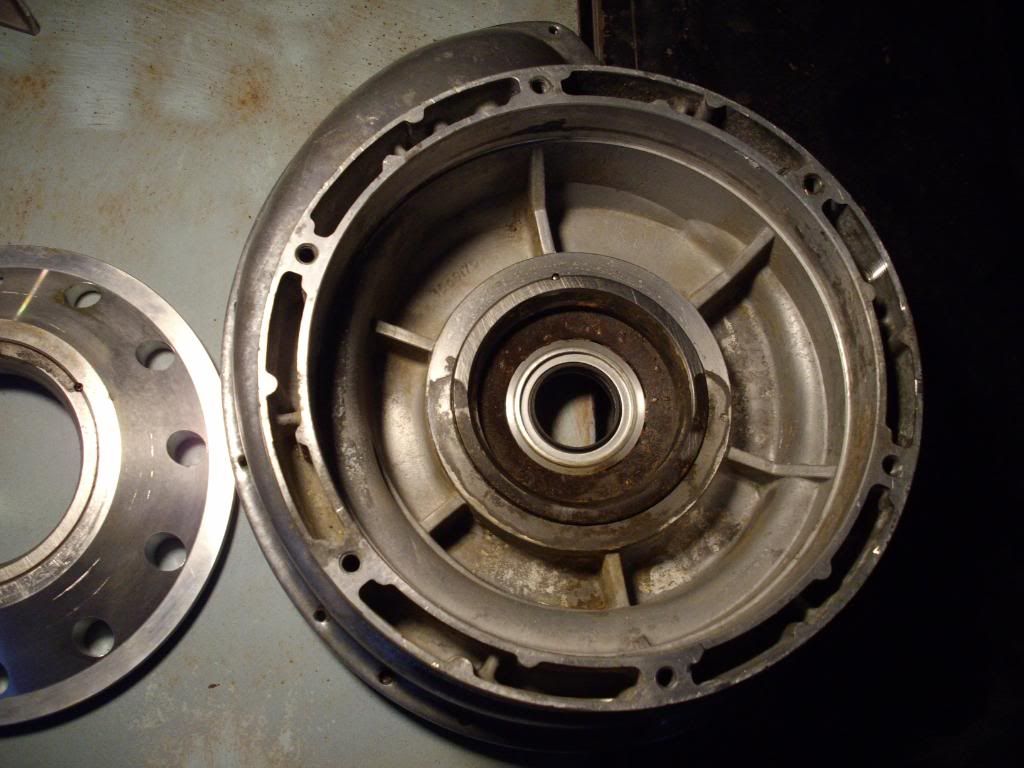
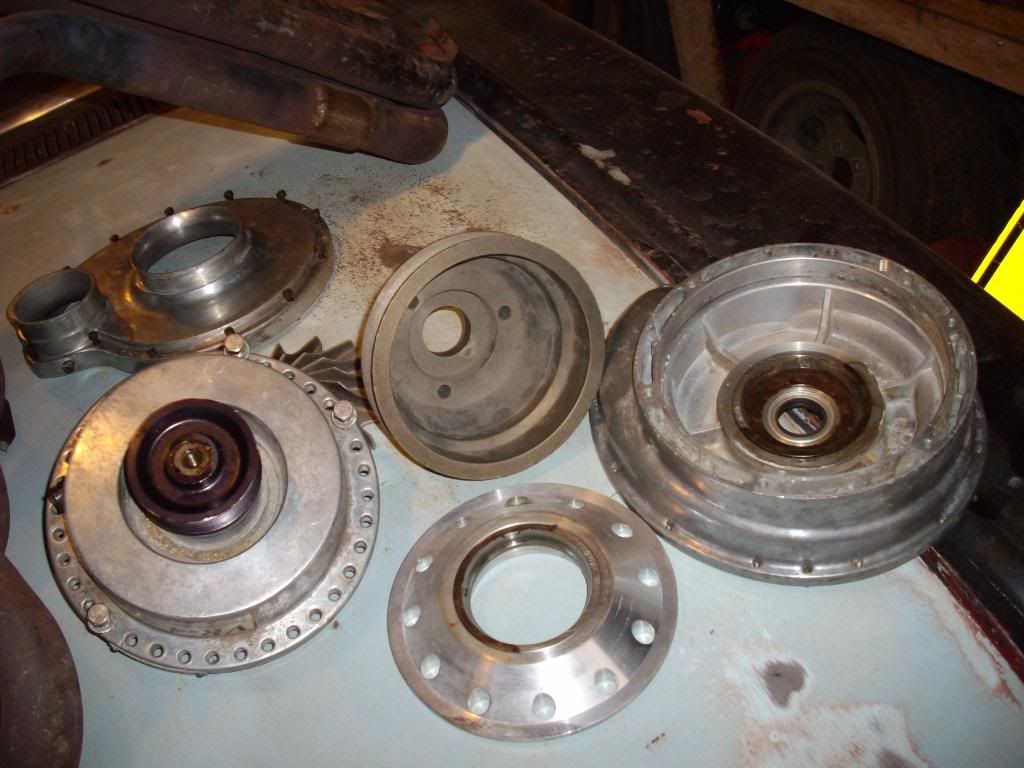
Where to begin: He said you don't torque the case bolts you just tighten them by hand until tight. I did this and checked them after with a Snap on dial type inch pound torque
wrench just to make sure they were somewhat even numbers wise.
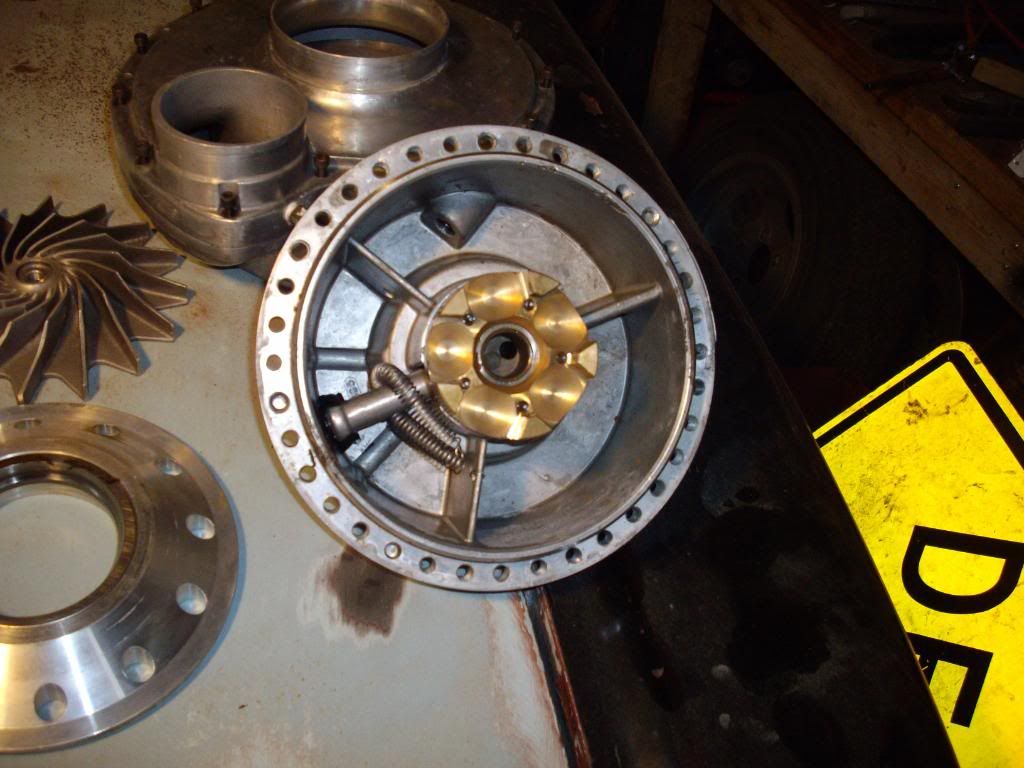
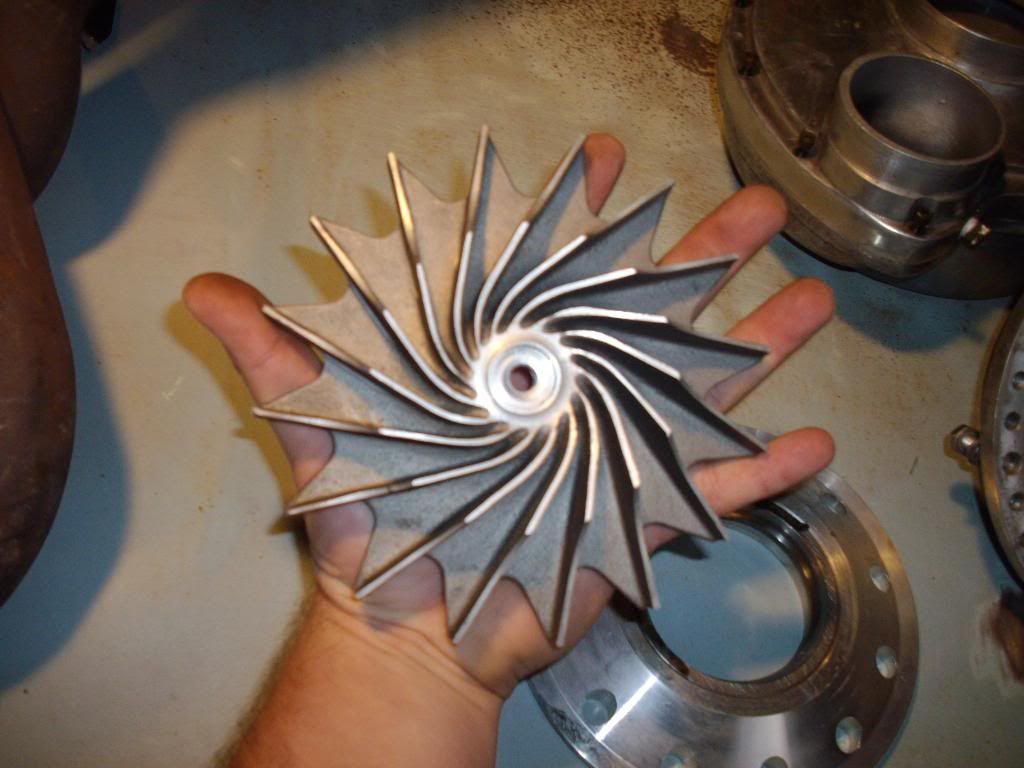
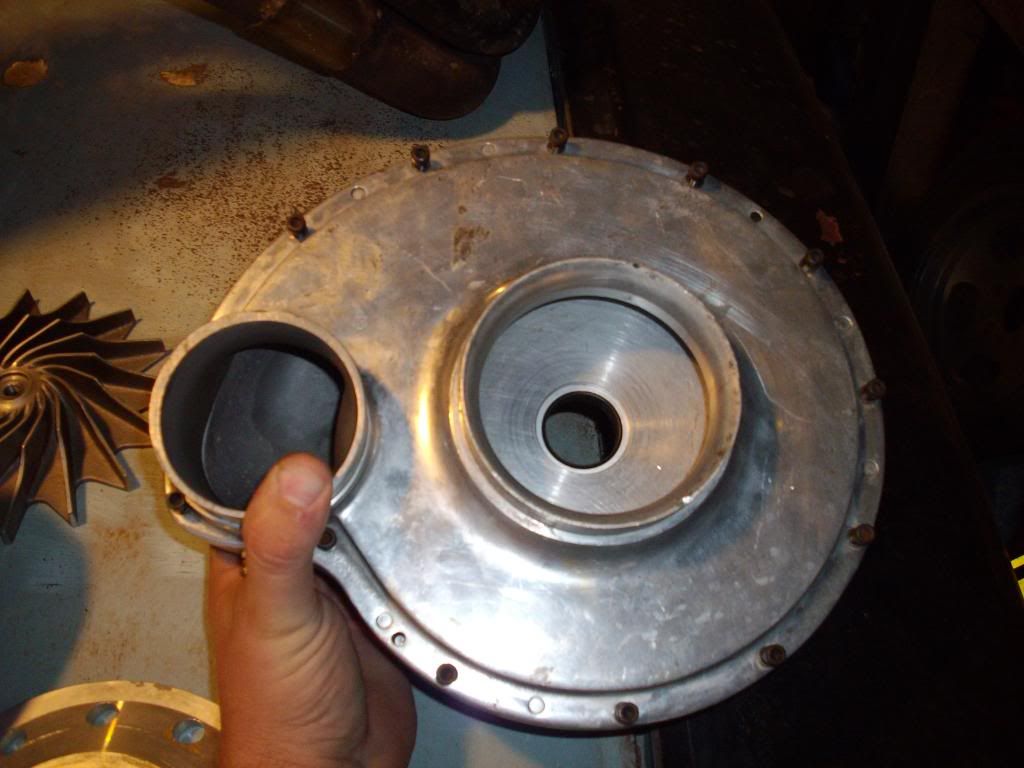
The gap under the impeller is NO less than .015 can be as much as .060 but NO less than
the .015.
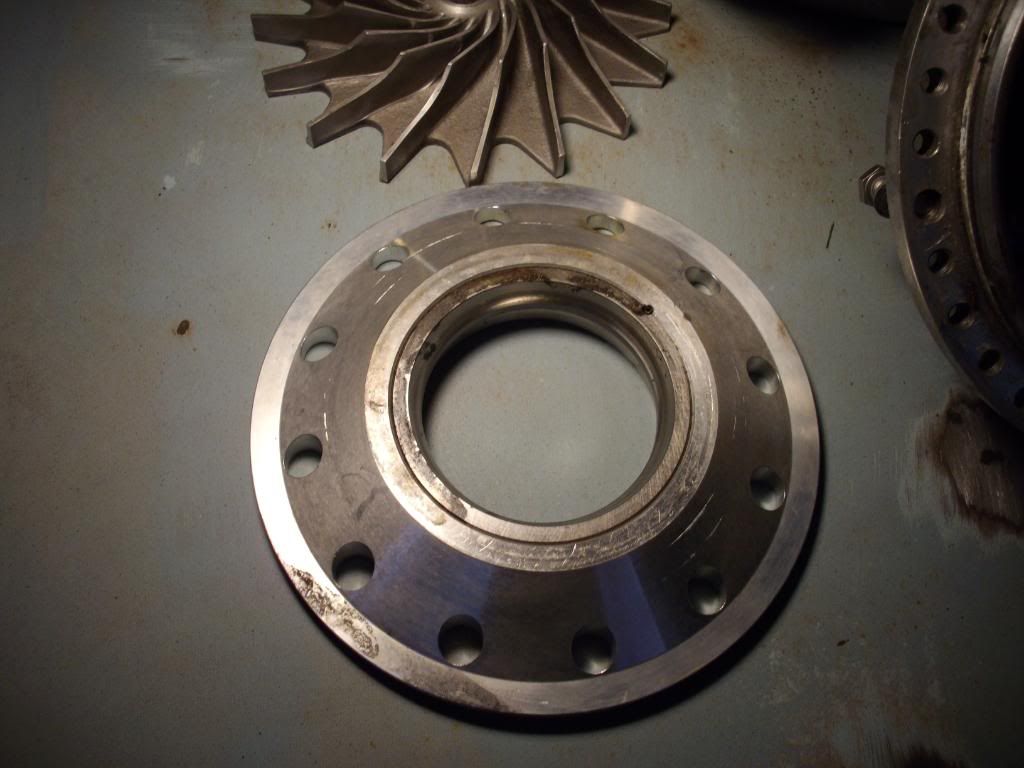
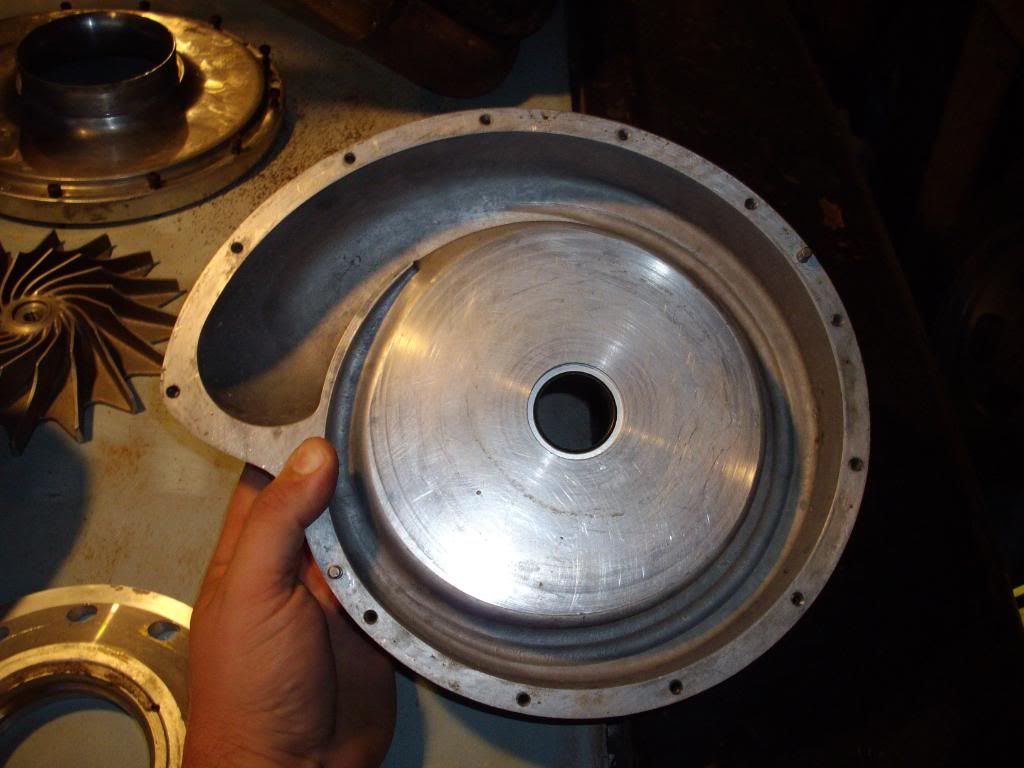
The gap on the face and rear cover side should be between .030-.033.
The impeller Bolt is 25 FT LBS, He uses a 3/8 impact and just snaps the bolt down till seated. I actually used a torque wrench, I stepped on the handle and was able to use rags in each hand and turn it till I got my click at the 25 FT LBS.
The rotational torque should be 45 inch pounds, mine is right on the money but I had to
try different shims to get it right.
I also just had a response from Mr. Granatelli that the Maximum impeller speed is 46,000
RPM's. I put a 7" Crank pulley with the stock 4.25" on my SN-2000 just to try it out they are a 10 rib setup that came with my VR4, it is just about right for my 373's. I don't shift my car at 6200 but I could and still be under the 46,000 RPM's. I'm building an all forged
All brand new engine setup (Block,Crank,Aluminum Heads,ARP studs etc. all new) to handle the VR4 output. I figure with what it will put out I'm lifter valley supporting it and
main stud girdling it as well. I'm trying to build it as bullit proof as I can as I'm not easy on it by any means and don't want it to break. I hope this helped you and you can always call Craig at Paradise Wheels as he is a great guy to deal with. I have spoken with him several times he will help you, here is his number : 760-740-0954 his e-mail is :
conleyr107@sbcglobal.net


 Reply With Quote


Bookmarks