


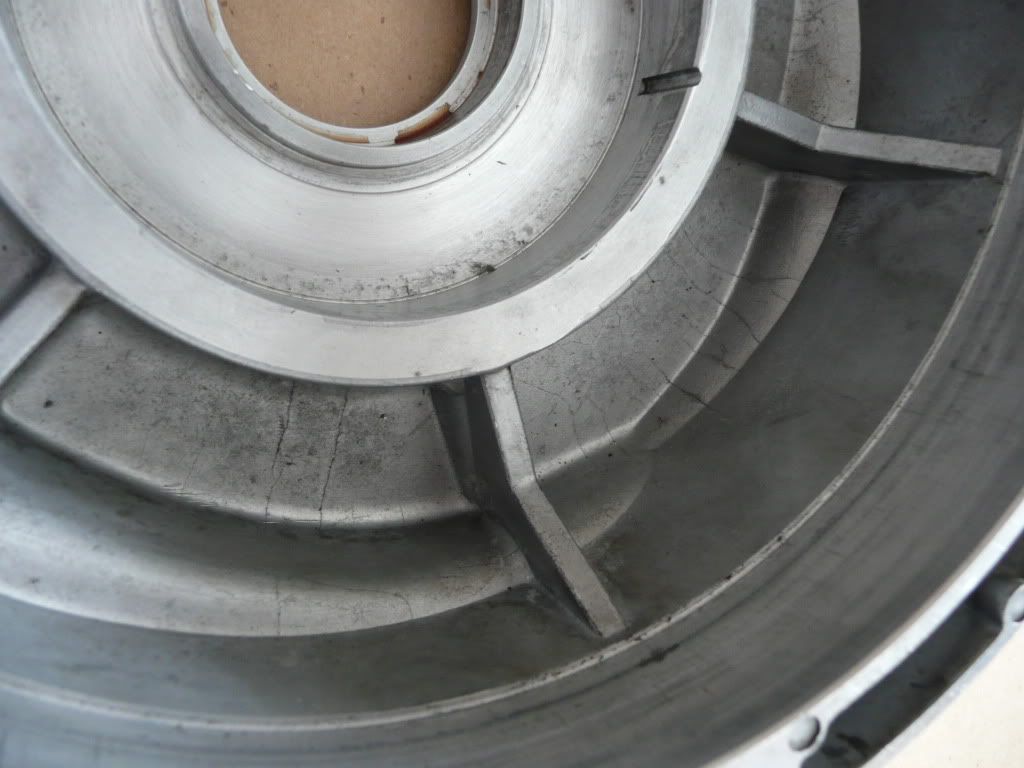
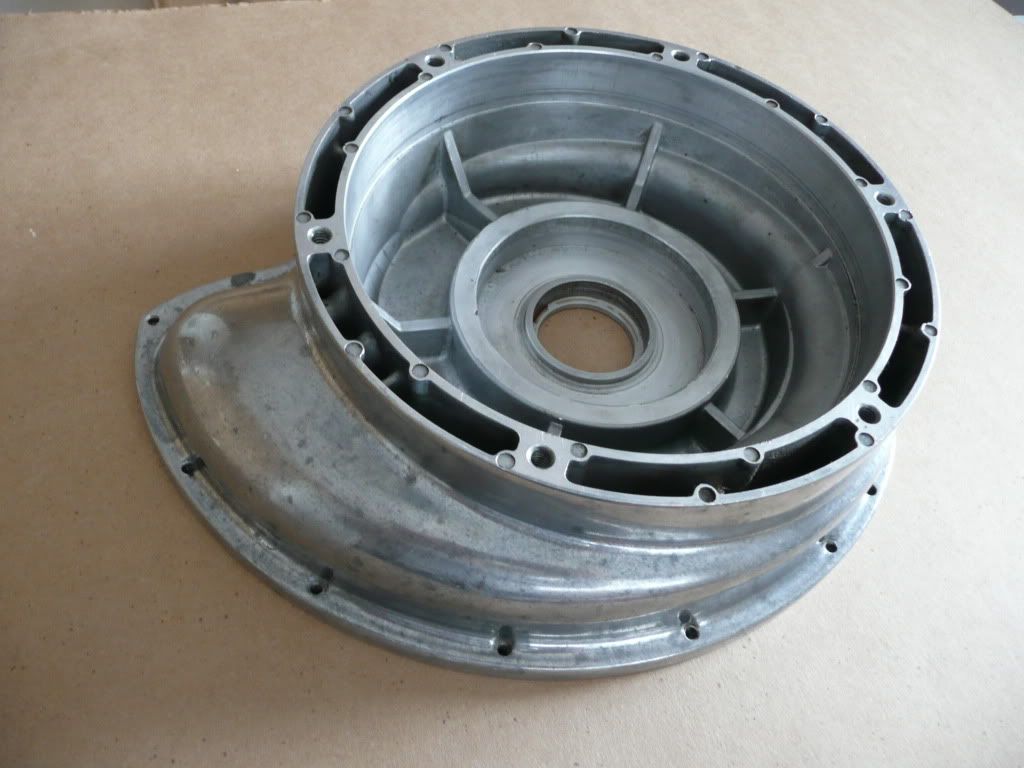
You might be right... I didn't consider that it may very well have been because the ball carrier was so badly damaged that it allowed the impeller/impeller shaft assembly to move forward/aft enough to cause the damage. Makes sense, especially considering that the damage to the back side of the impeller itself is relatively minor.Originally Posted by JPJP

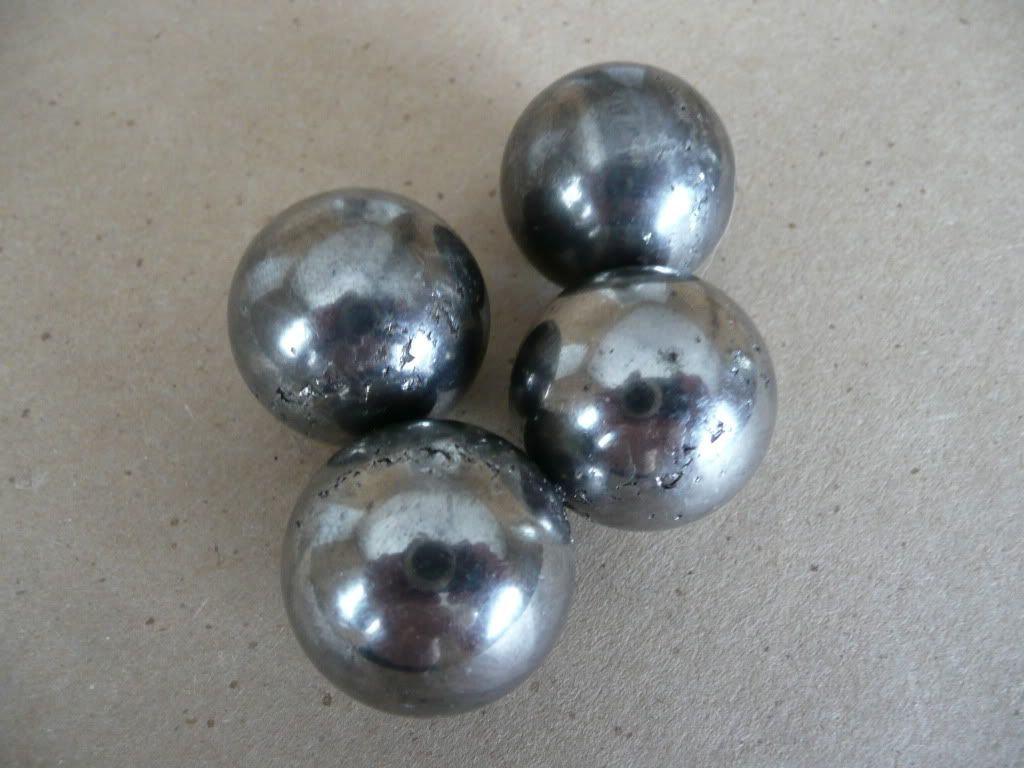
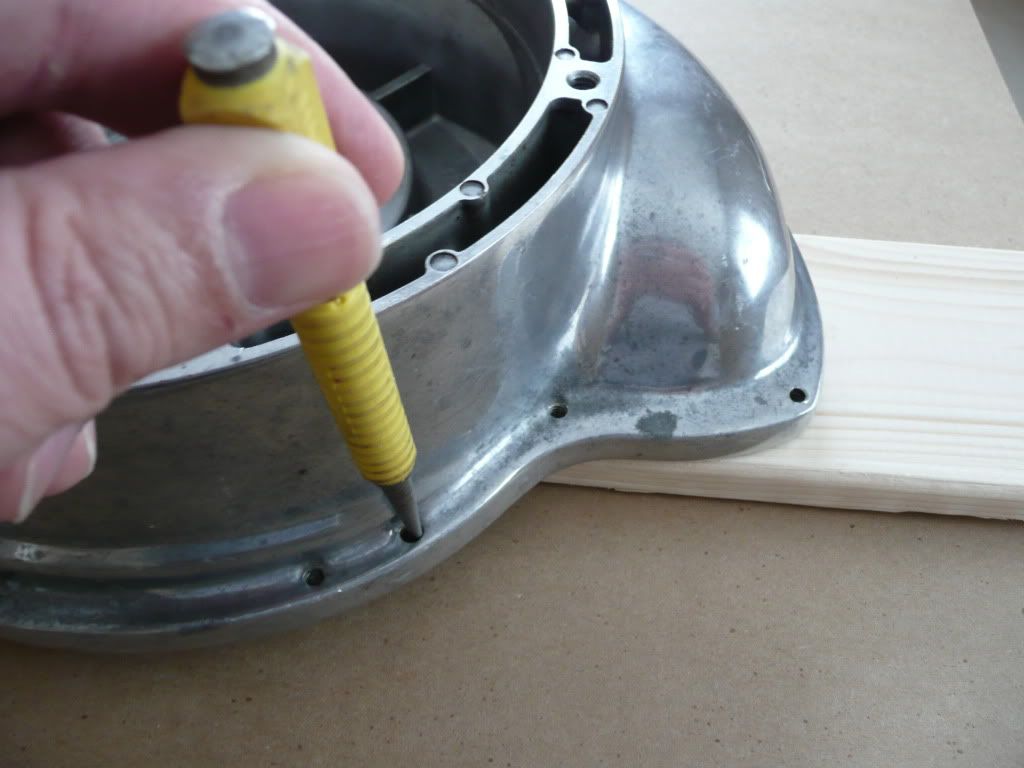
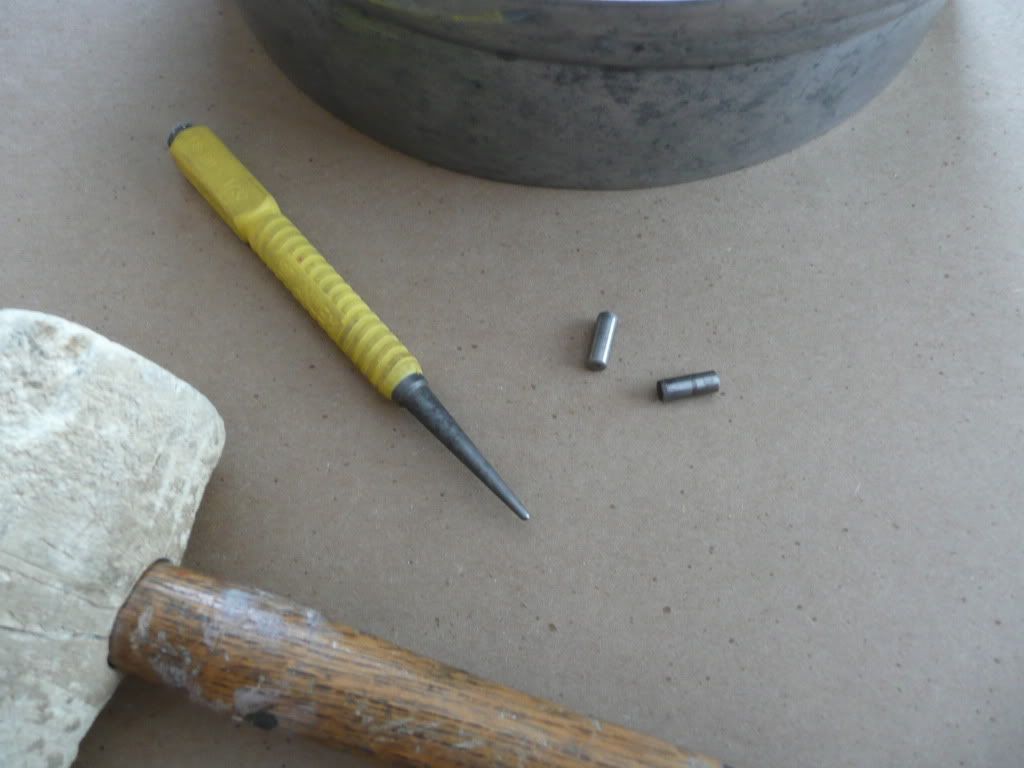
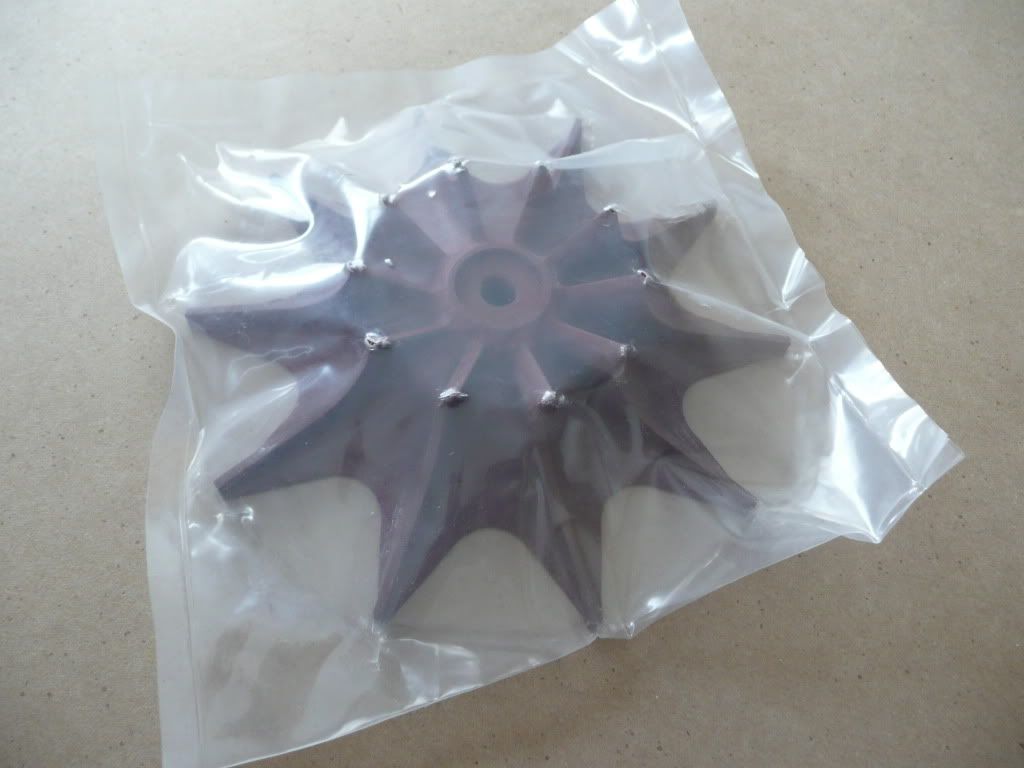
Here's a photo of the drive balls themselves when I pulled them from the supercharger (those eagle-eyed readers will notice there are only four balls, not five... the fifth ball was so badly mangled I just threw it away). These are gouged pretty badly to say the least.
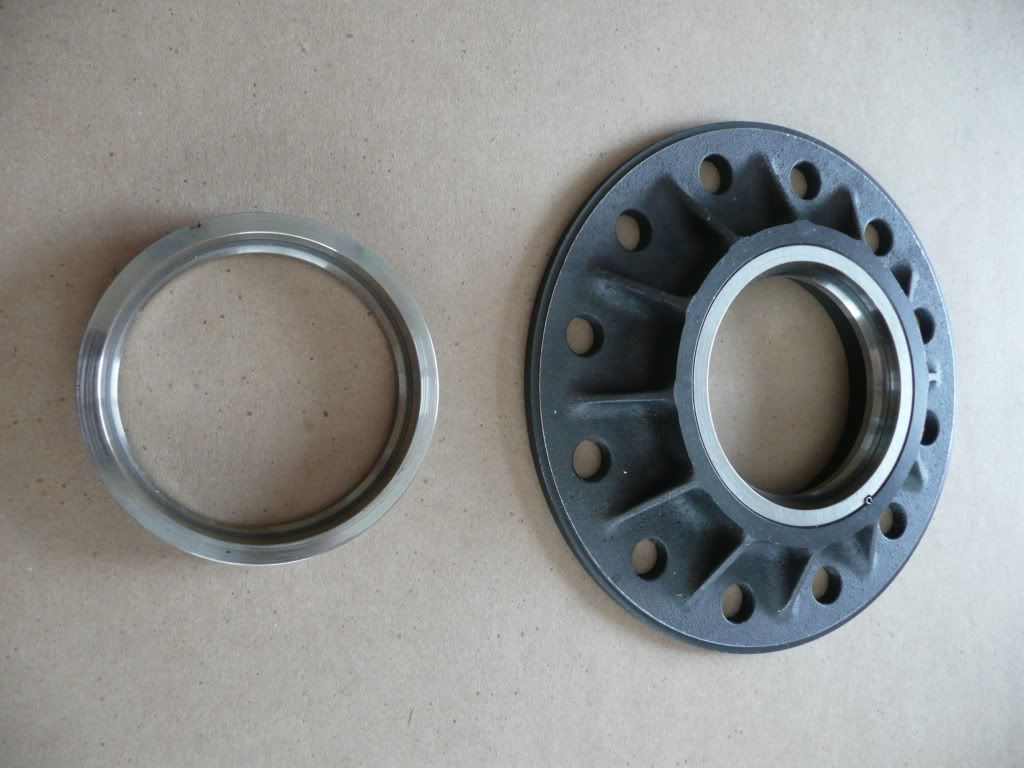
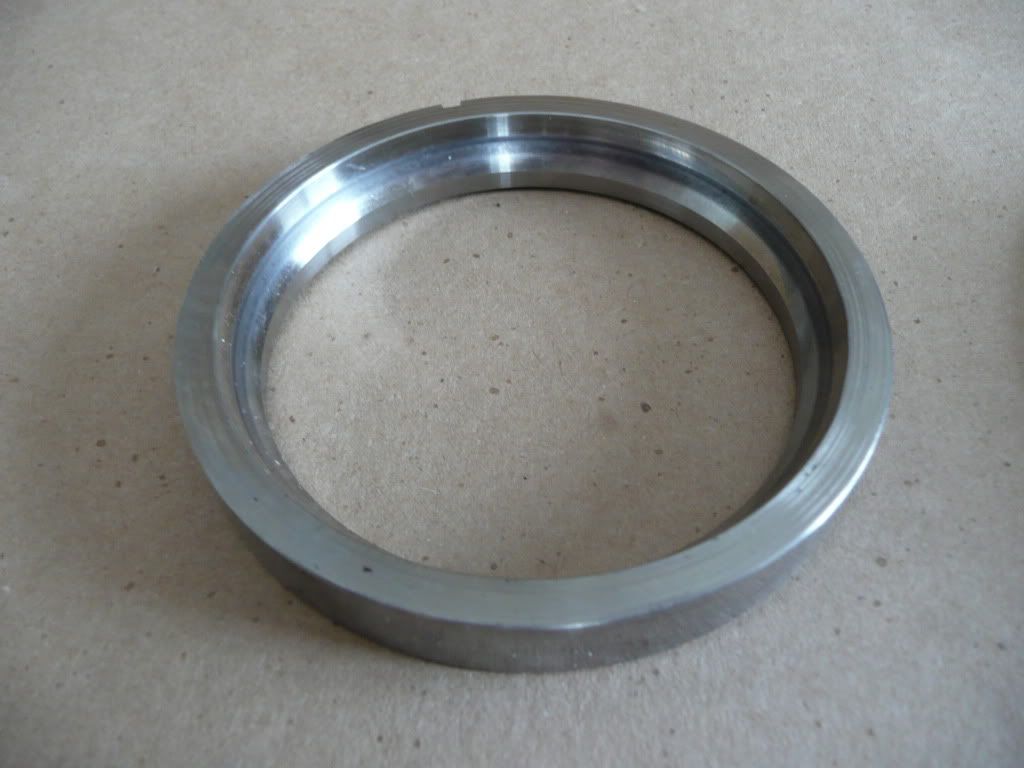
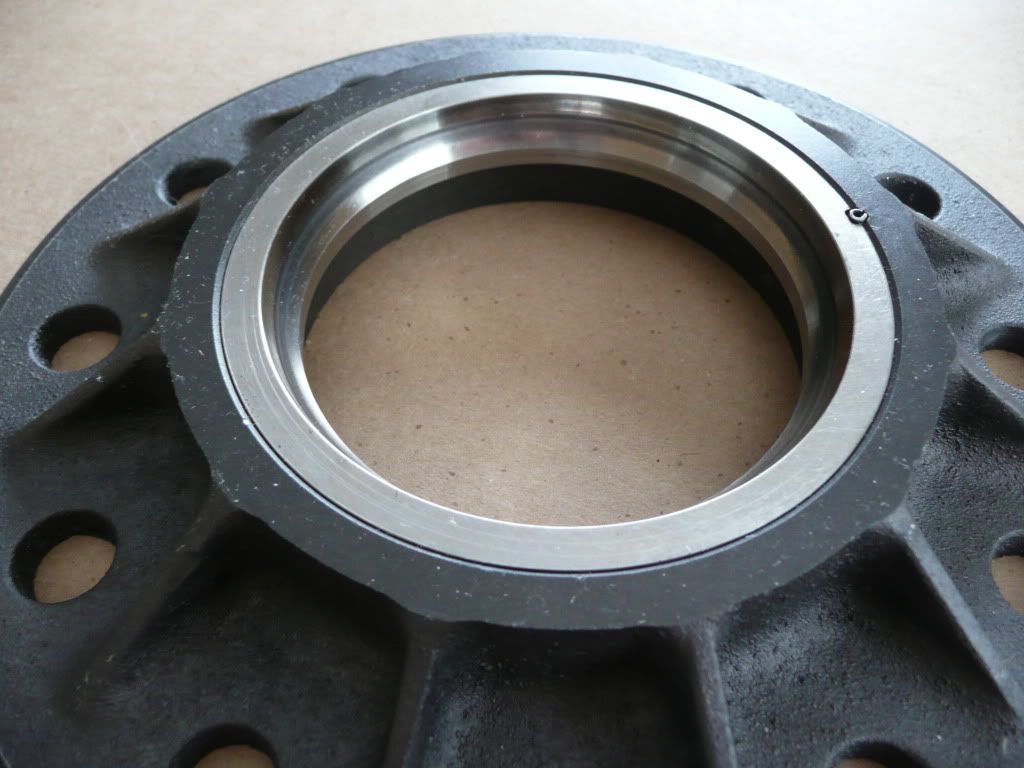
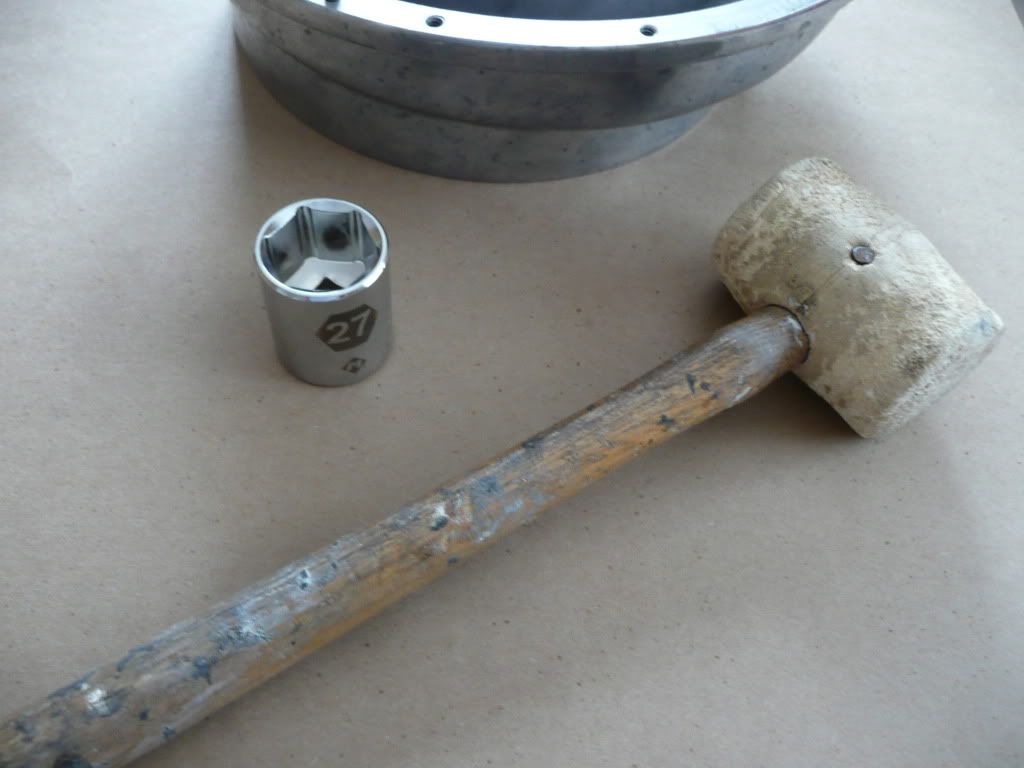
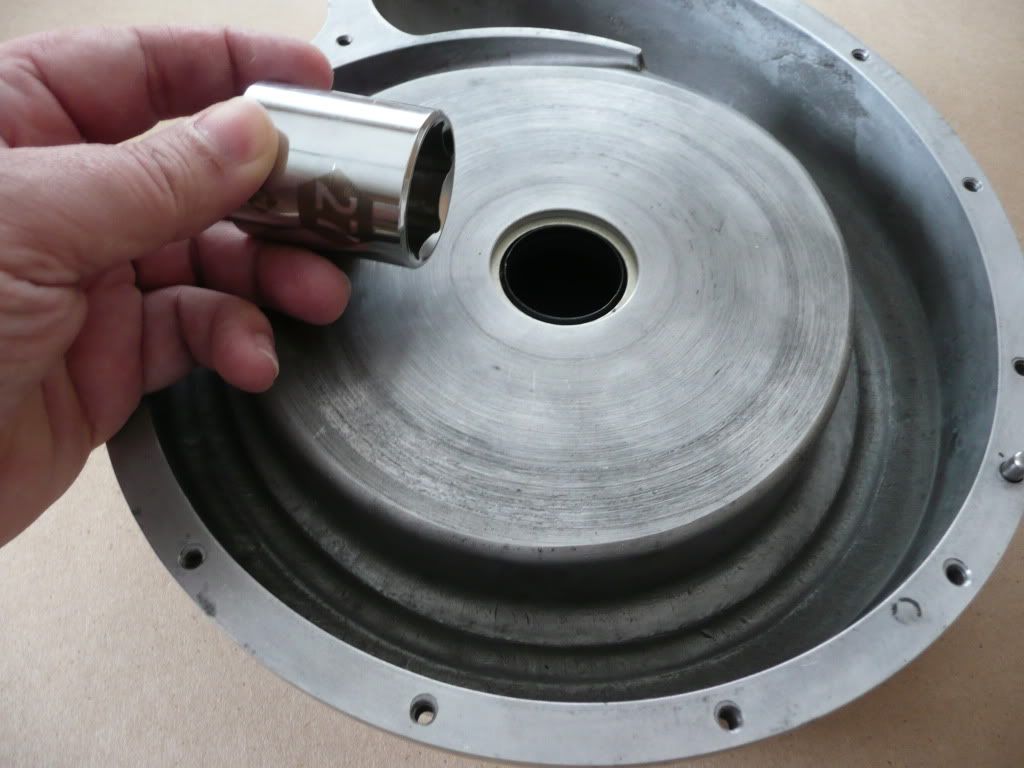
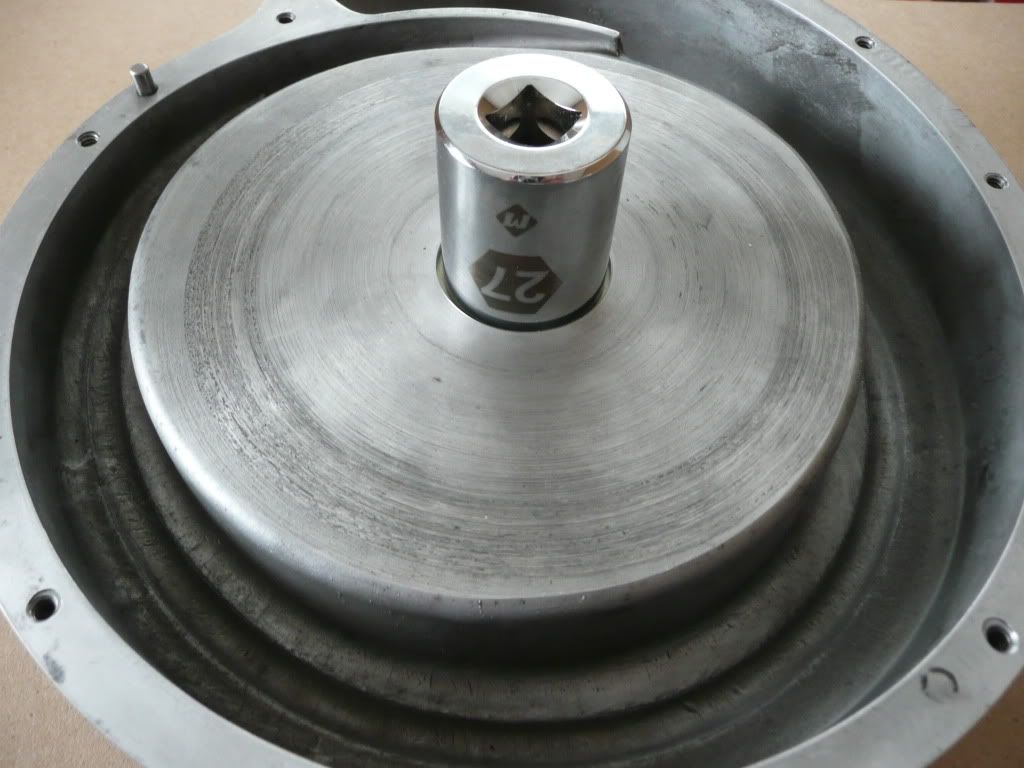
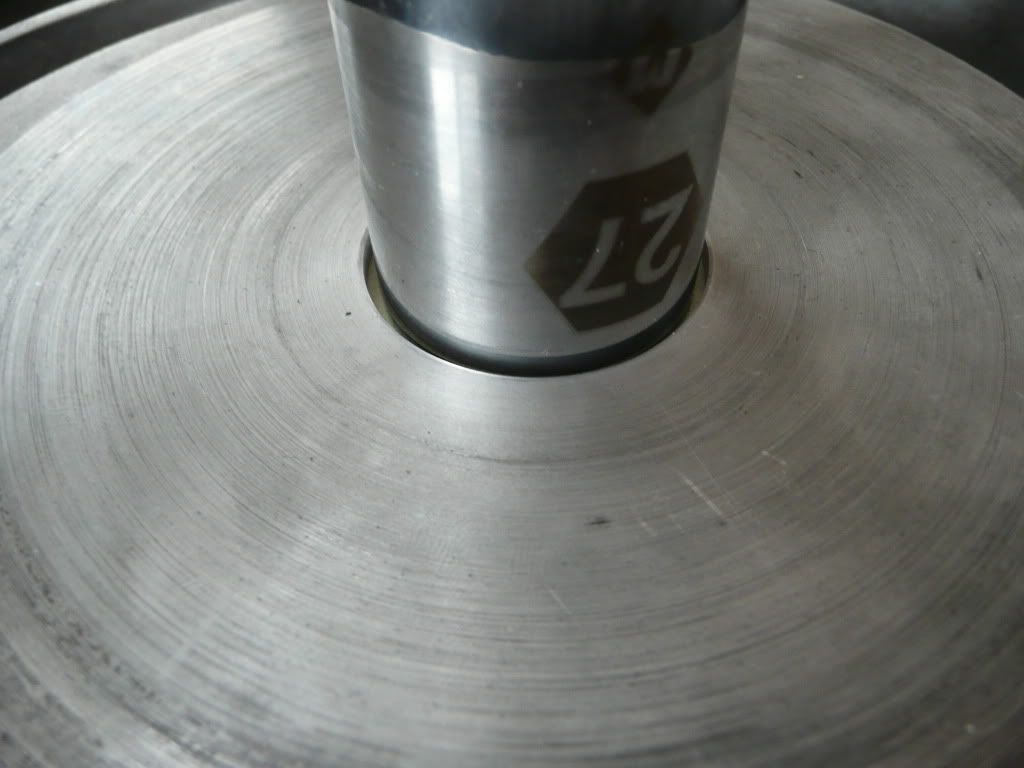
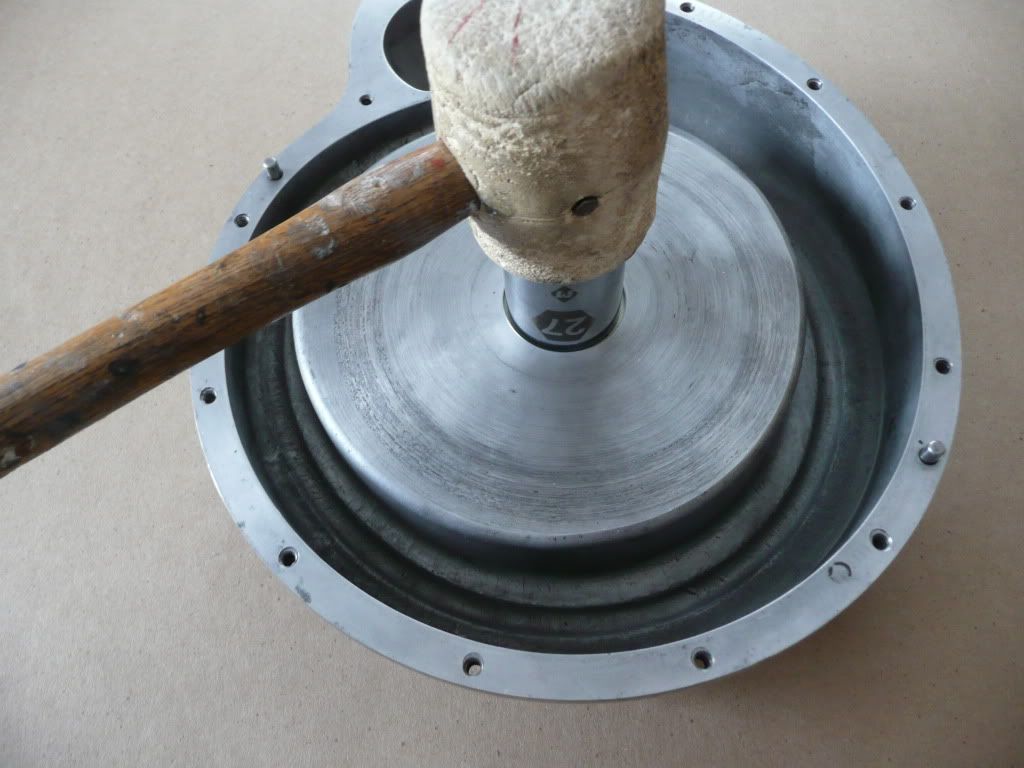
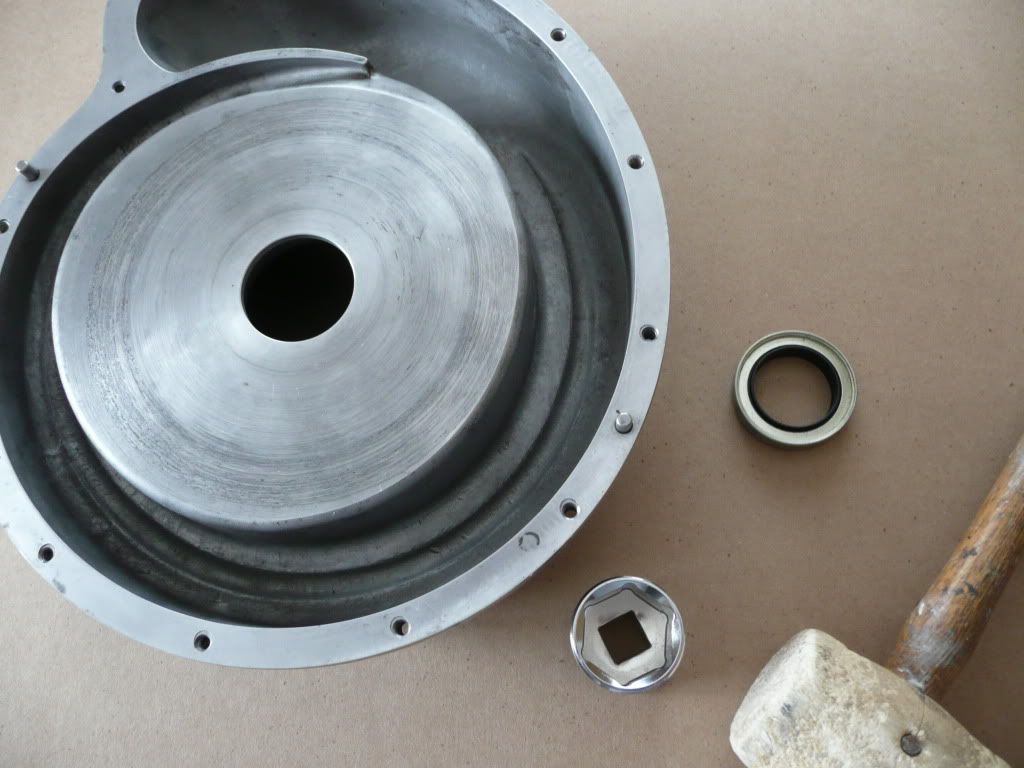
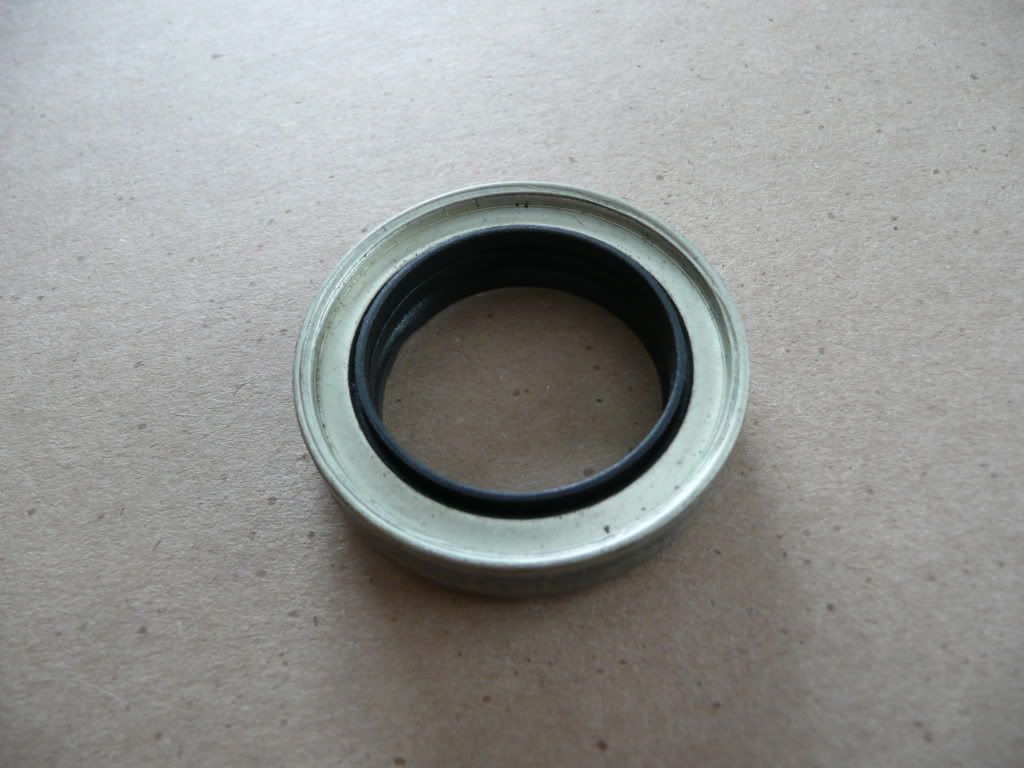
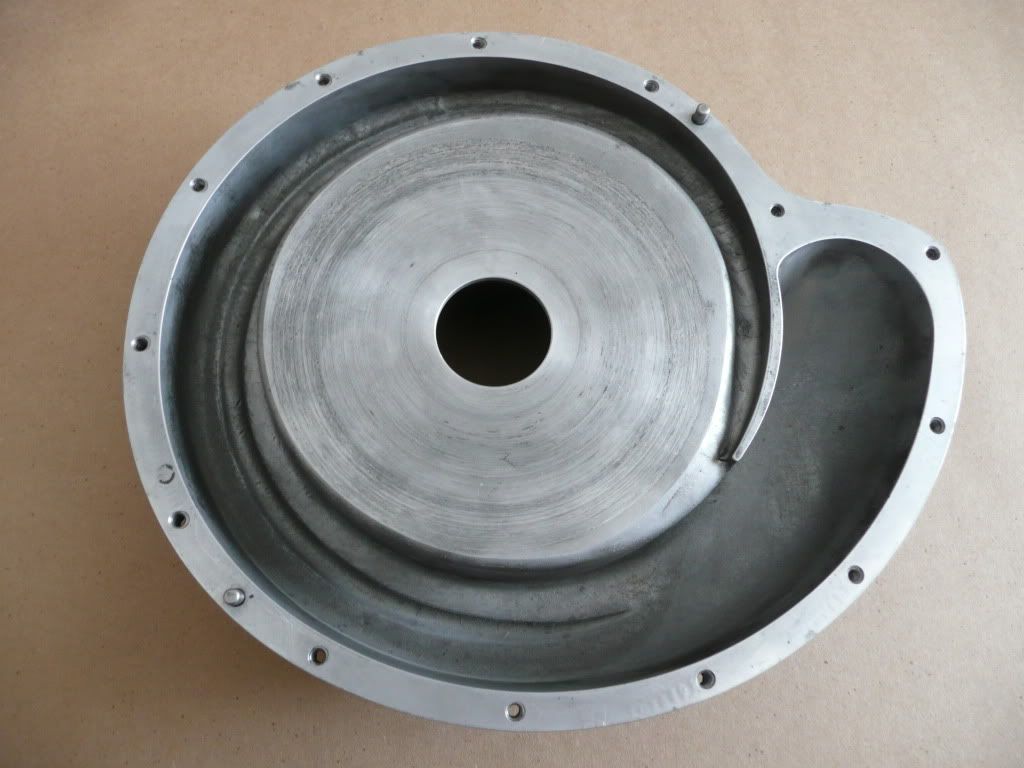
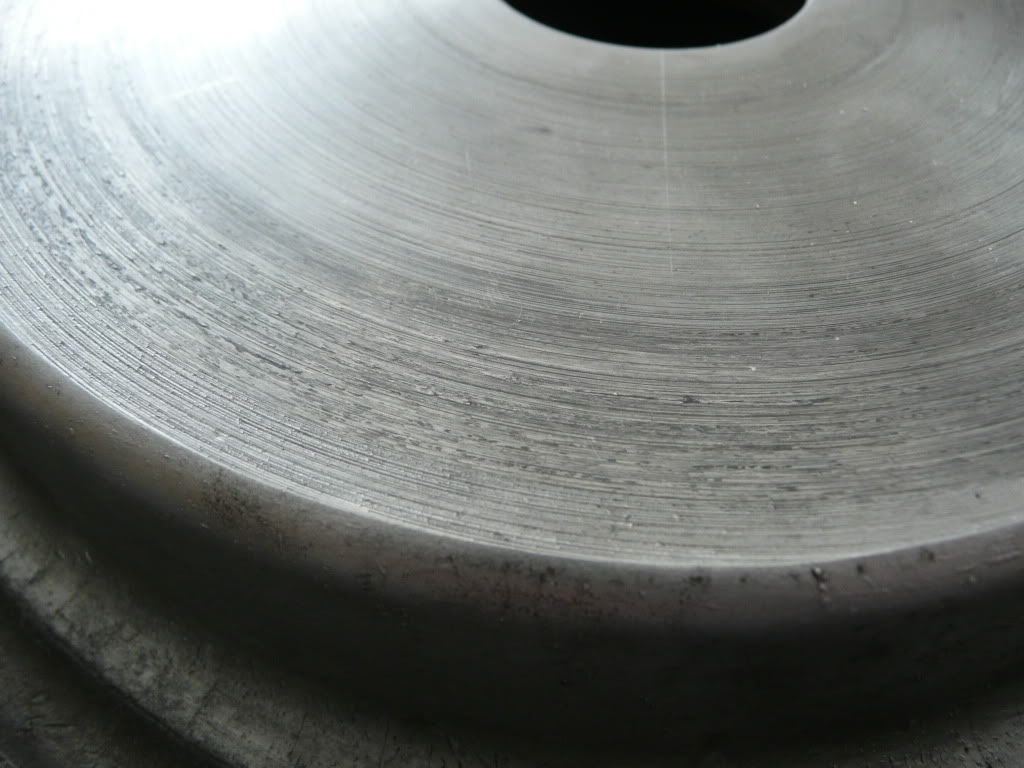
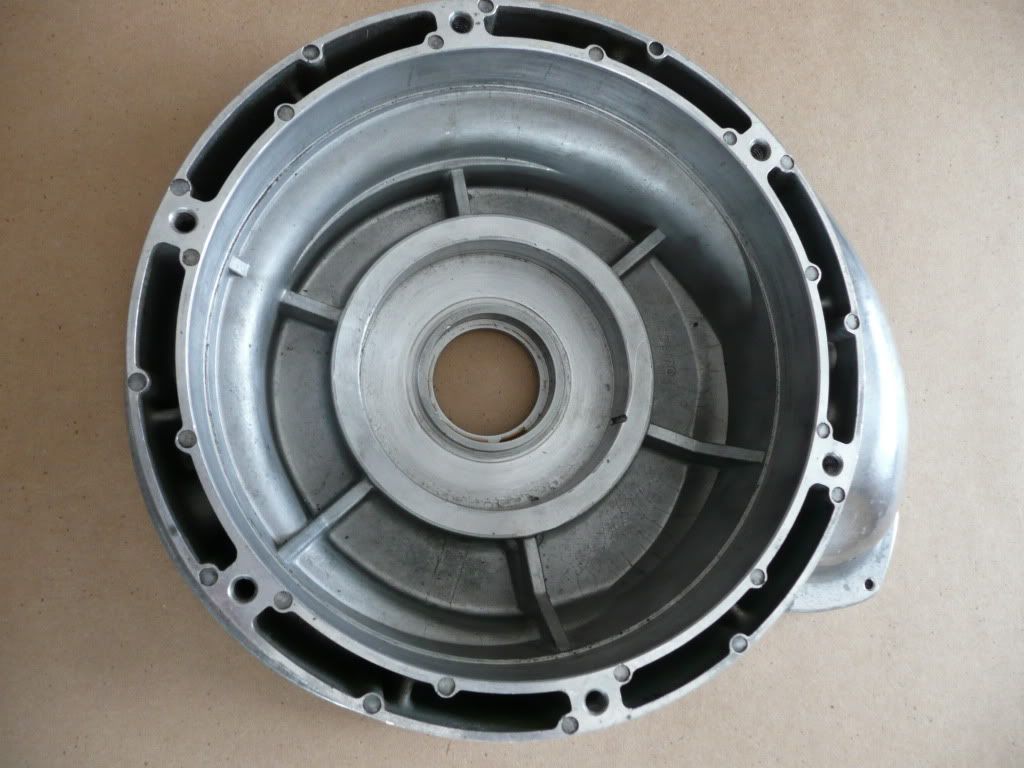
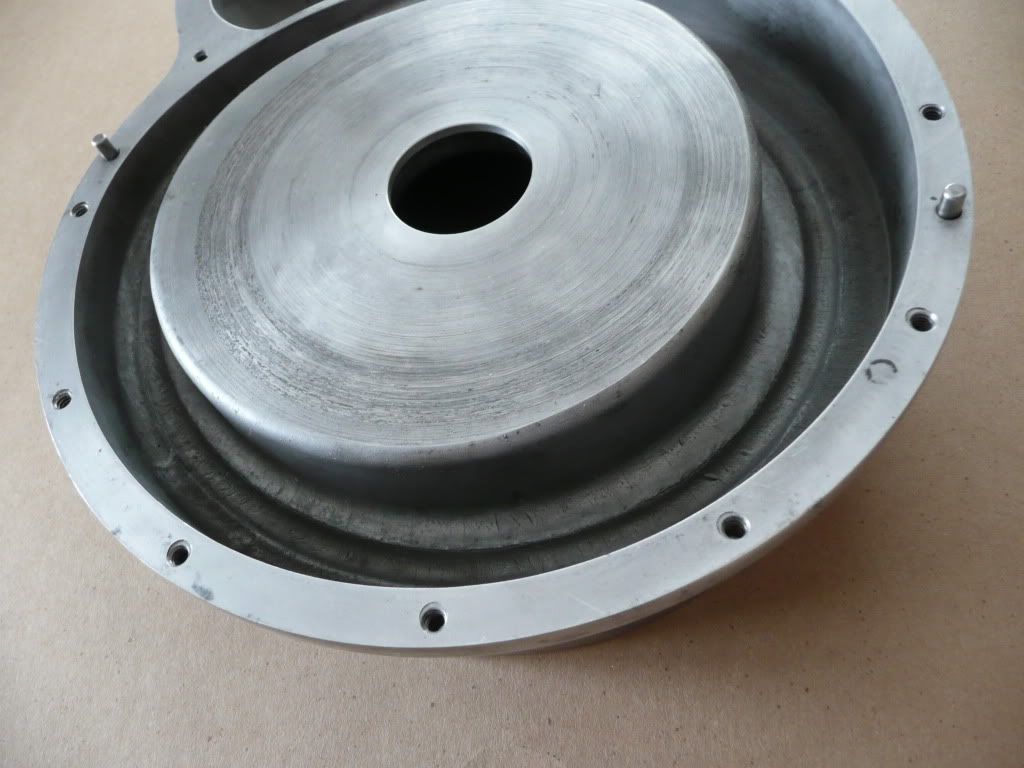
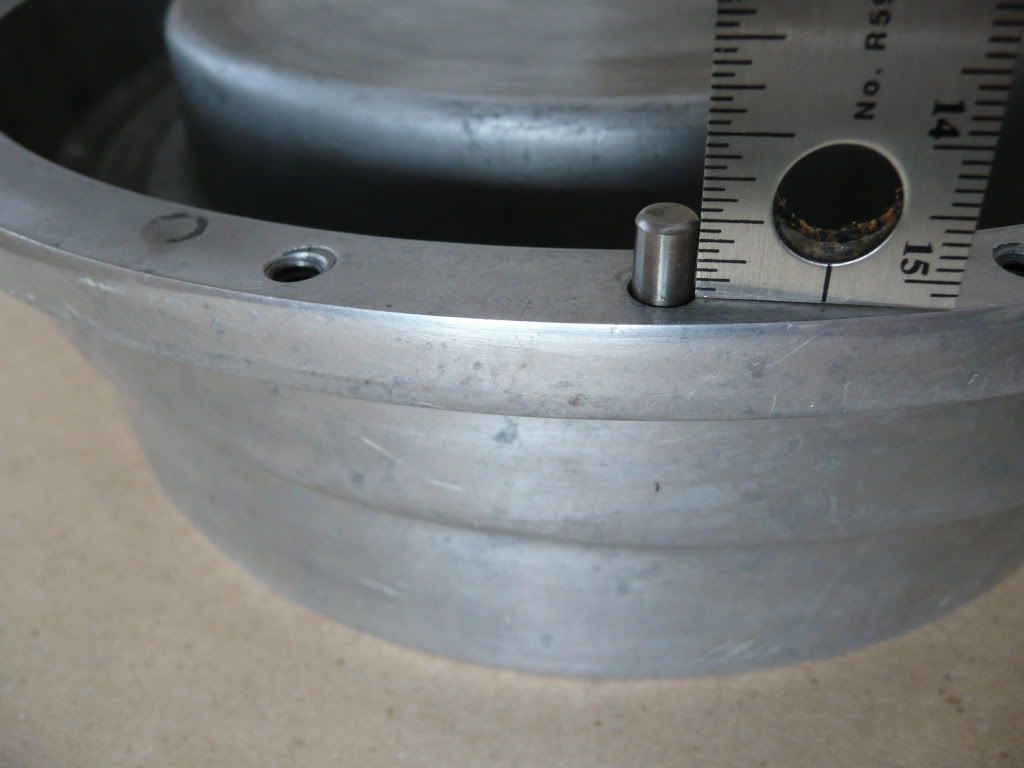
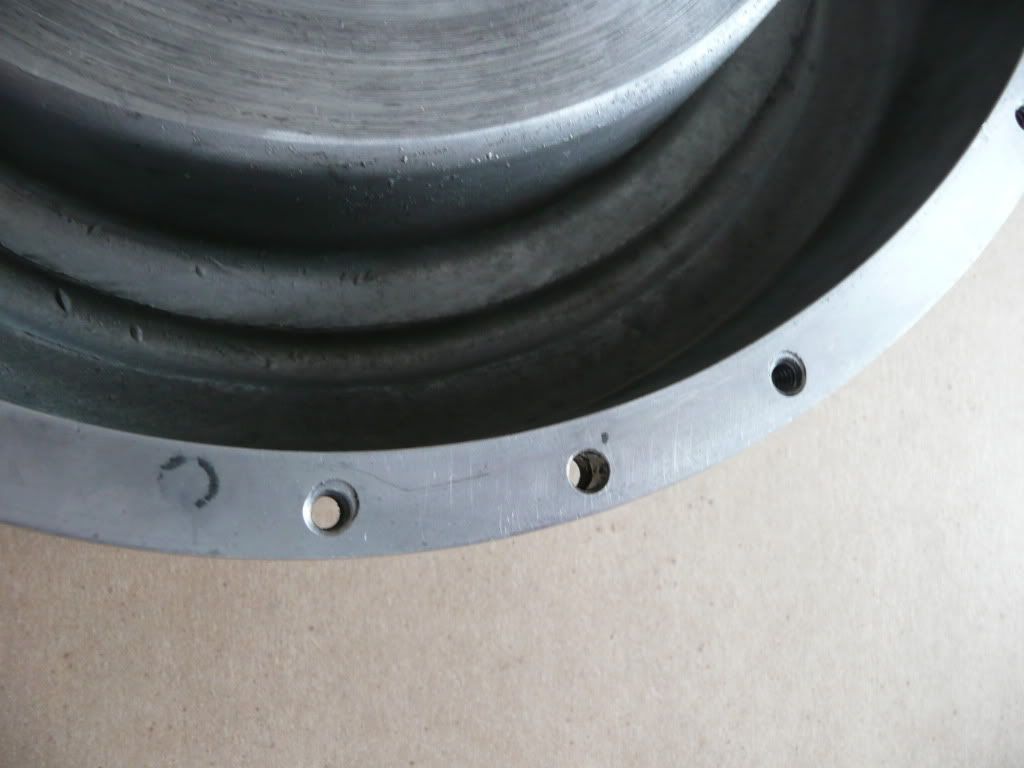
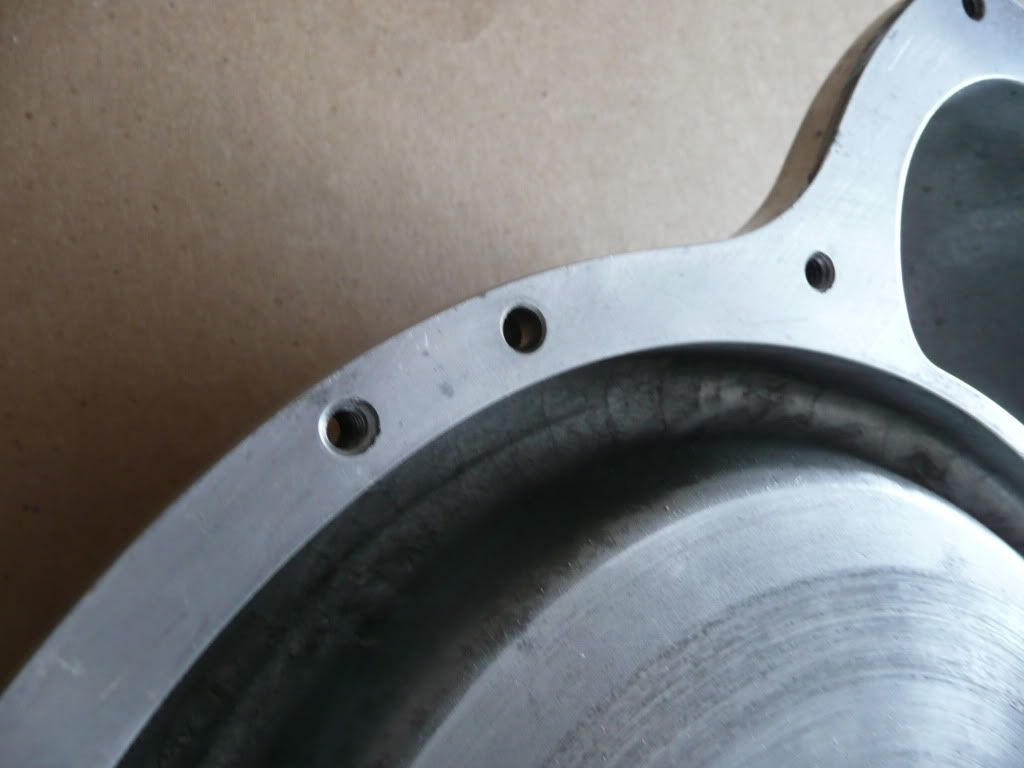
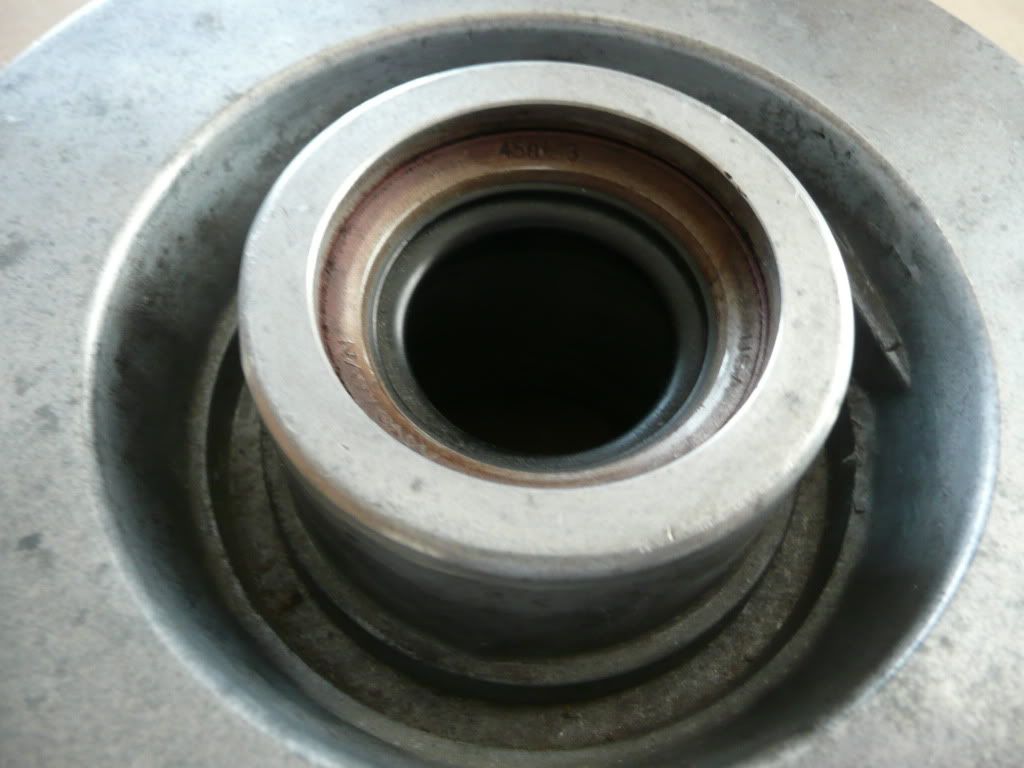
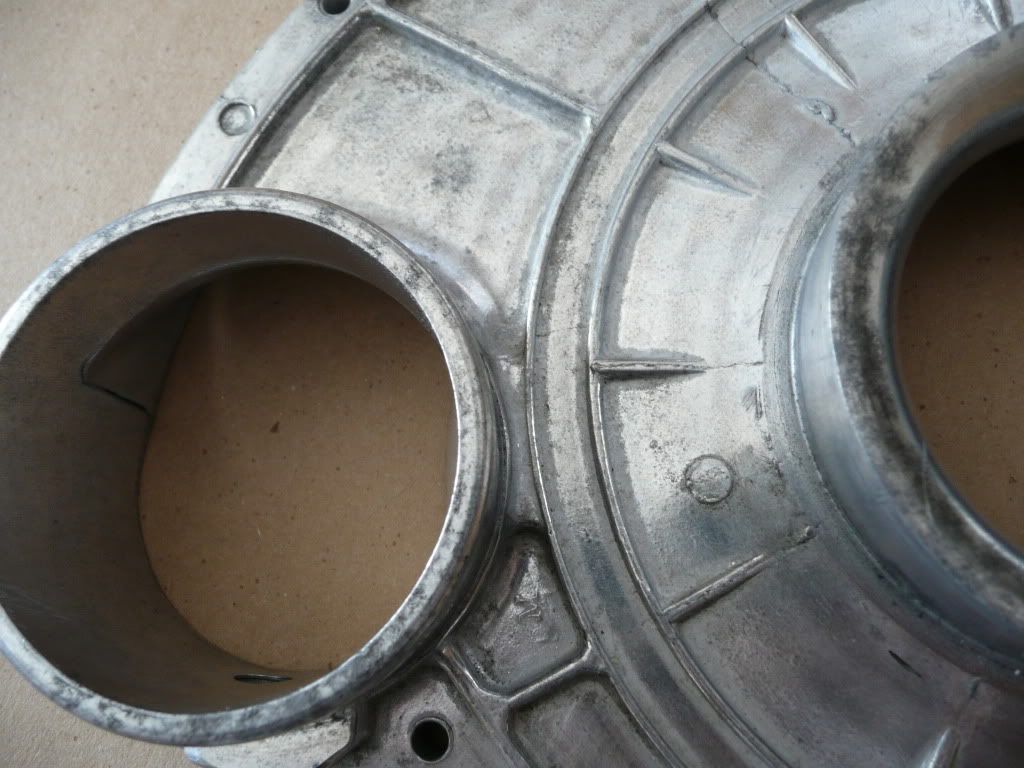
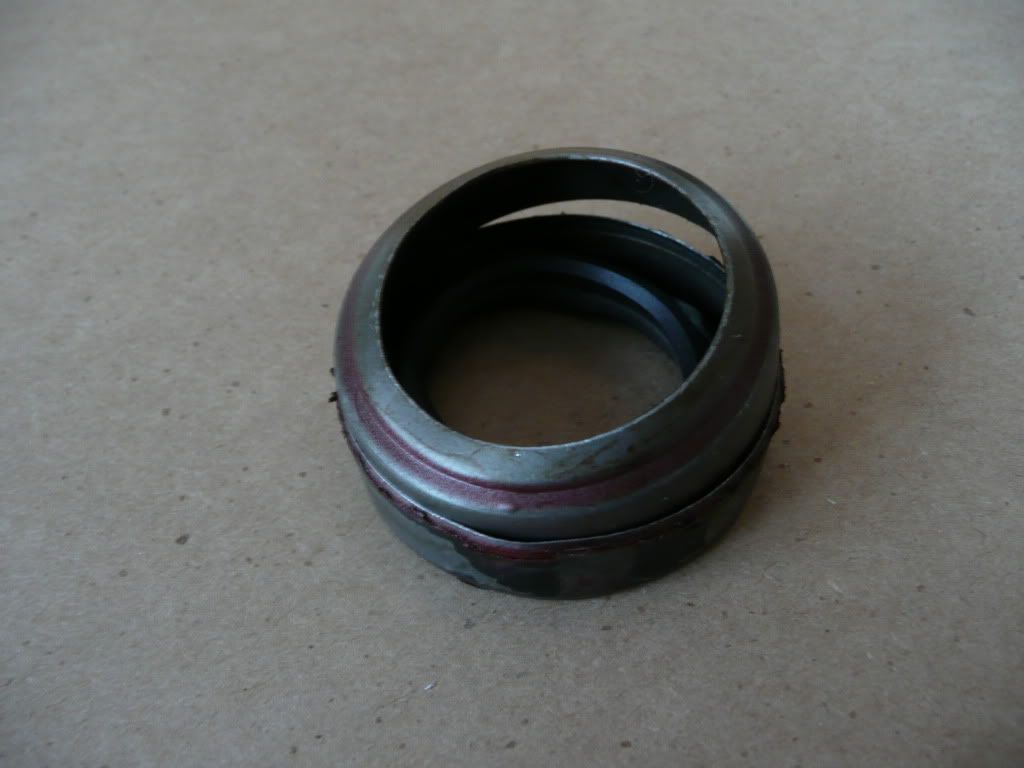
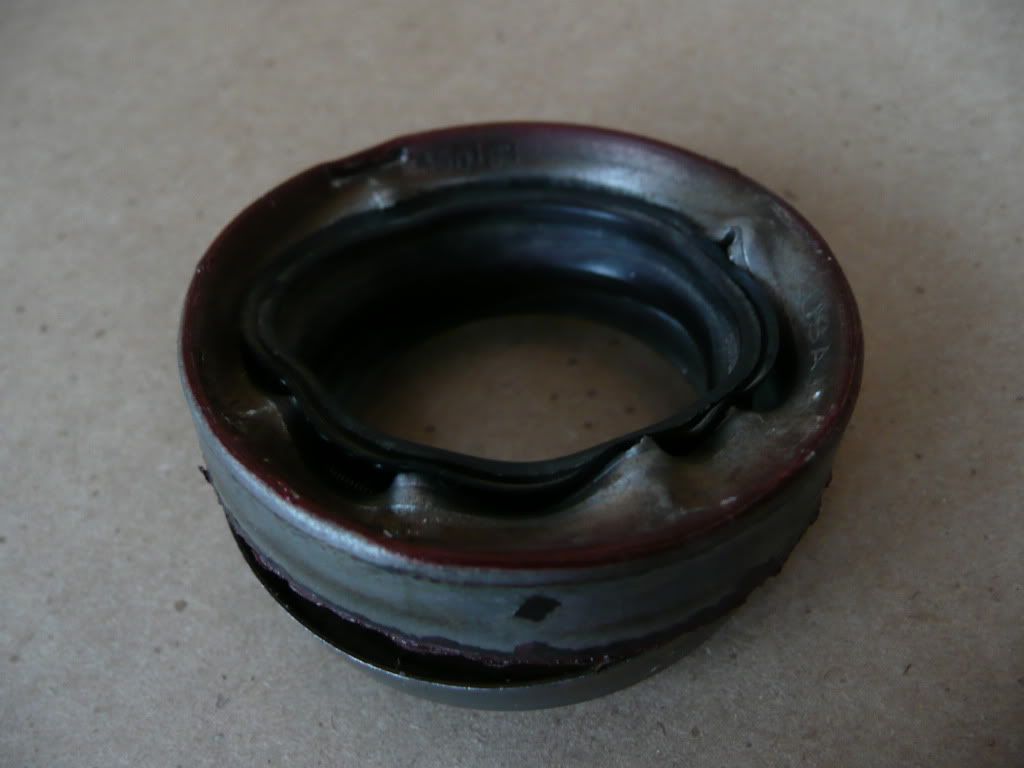
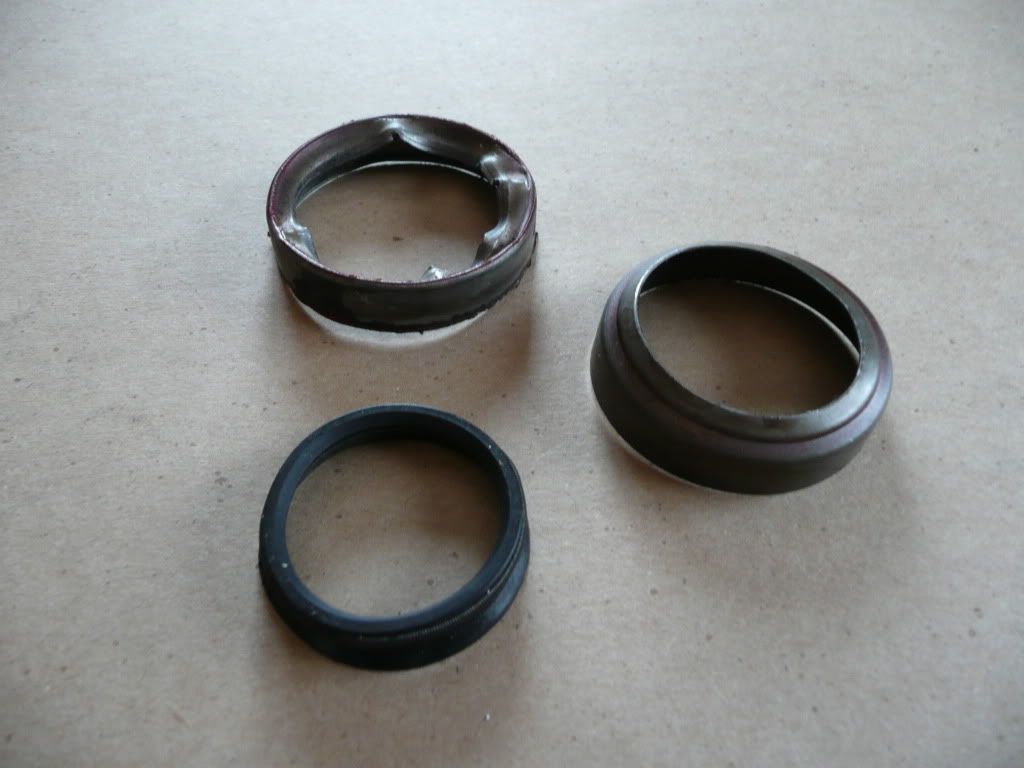
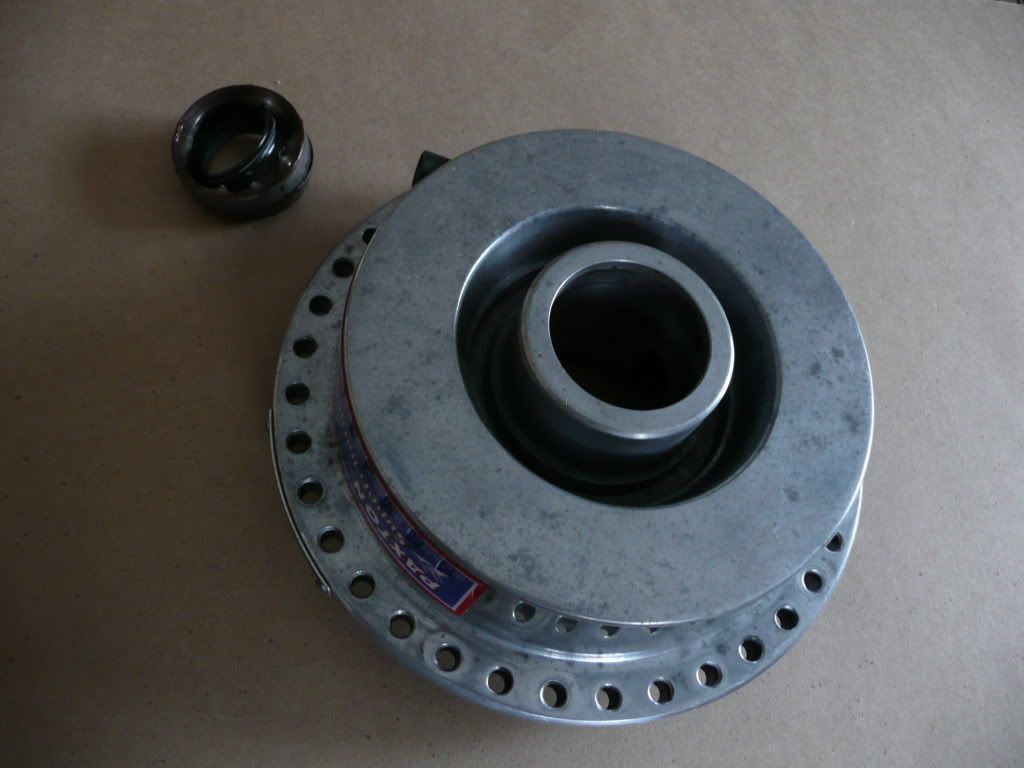
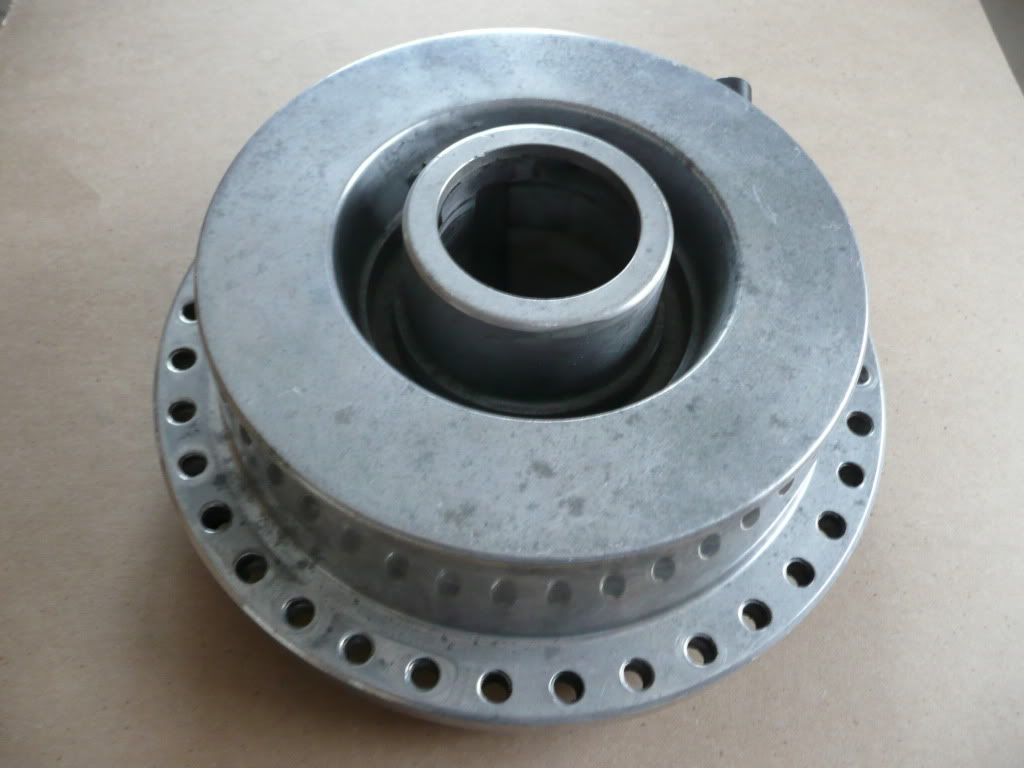
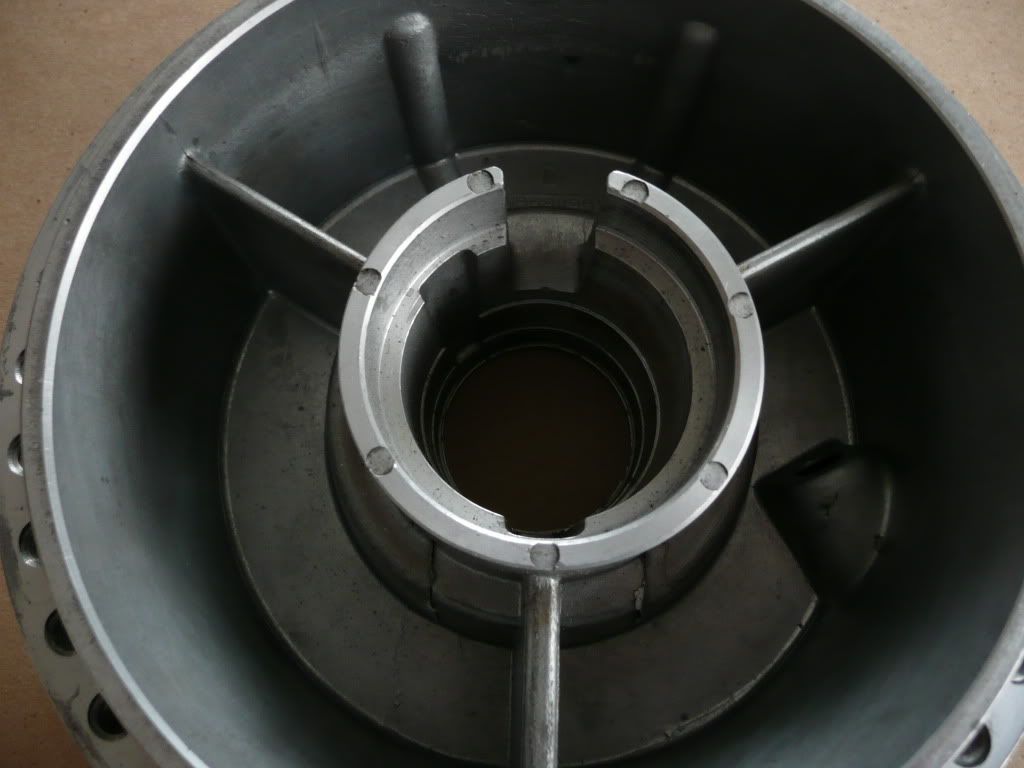
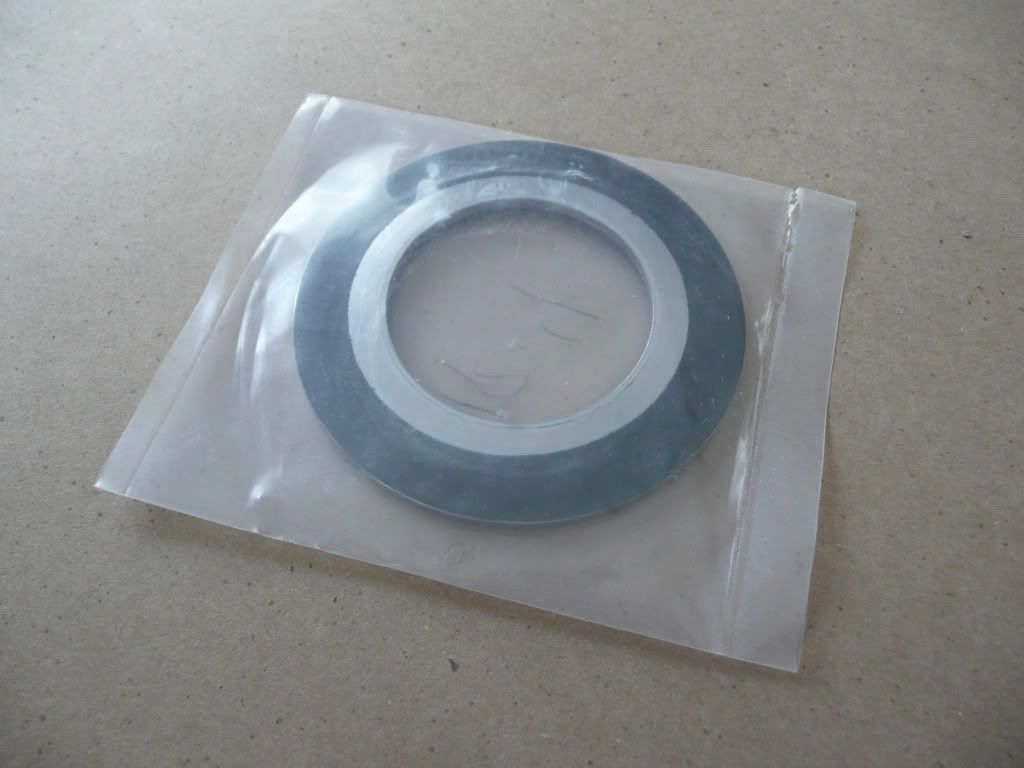
As for the races, here's some photos of those. I haven't removed the one race from the flange yet, but I'll do that soon. Interestingly, aside from a slight discoloration, they races actually look to be in really good shape, not unlike the impeller shaft itself. Raises the question: should I get new ones or do you guys thing I can reuse these?
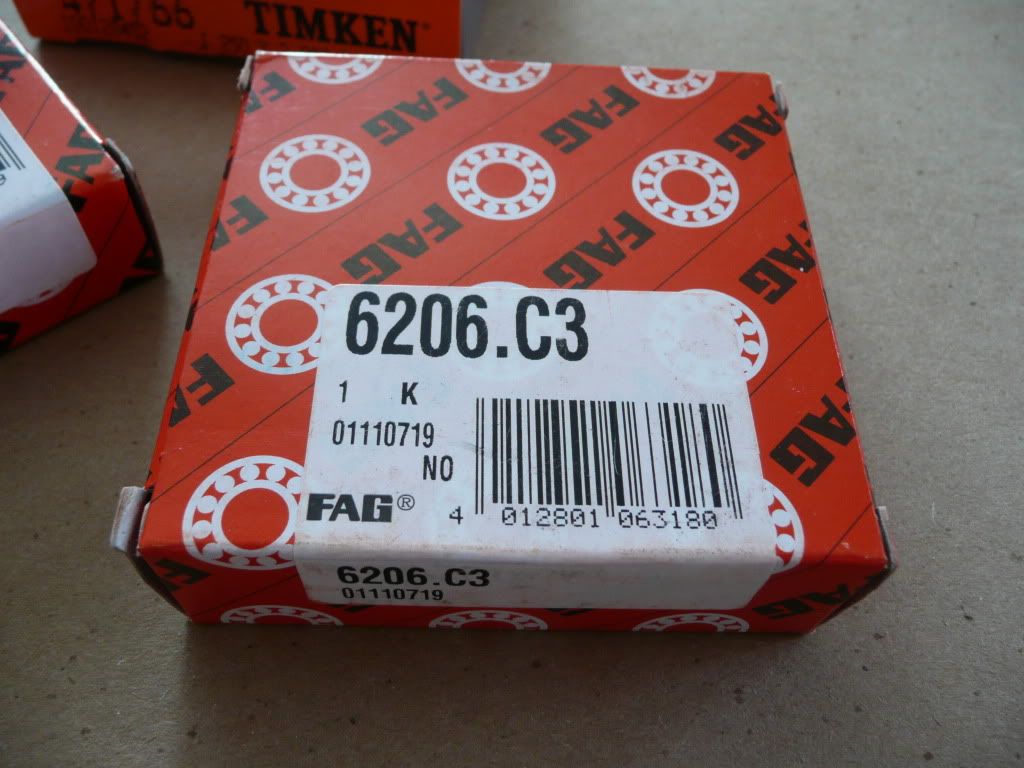
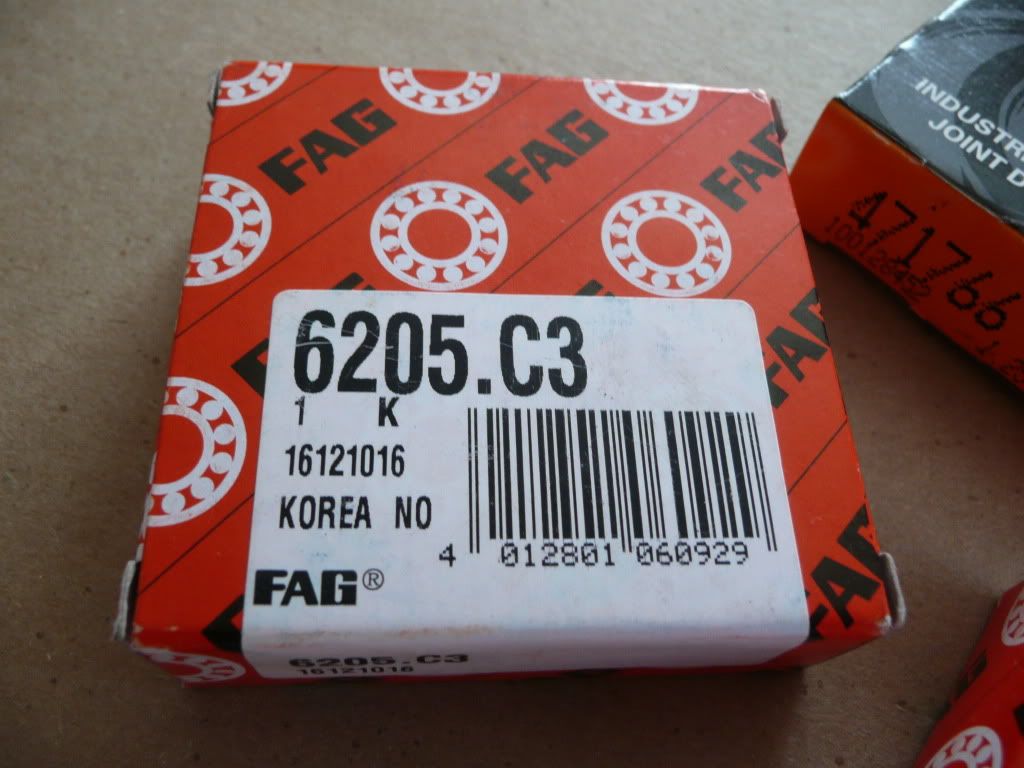
BTW, I stopped by a bearing shop yesterday and order a new set of ball bearings. They suggested SKF; the guy at the bearing shop said that the Nachi bearings that came with the supercharger were "good", but that SKF were "the best". I trust his judgement seeing as bearing are his business (he did ask what they were going to be used for and the intended RPM, etc...). He had to order them and they should be in tomorrow, so I'll post photos and info of those when I go pick them up.
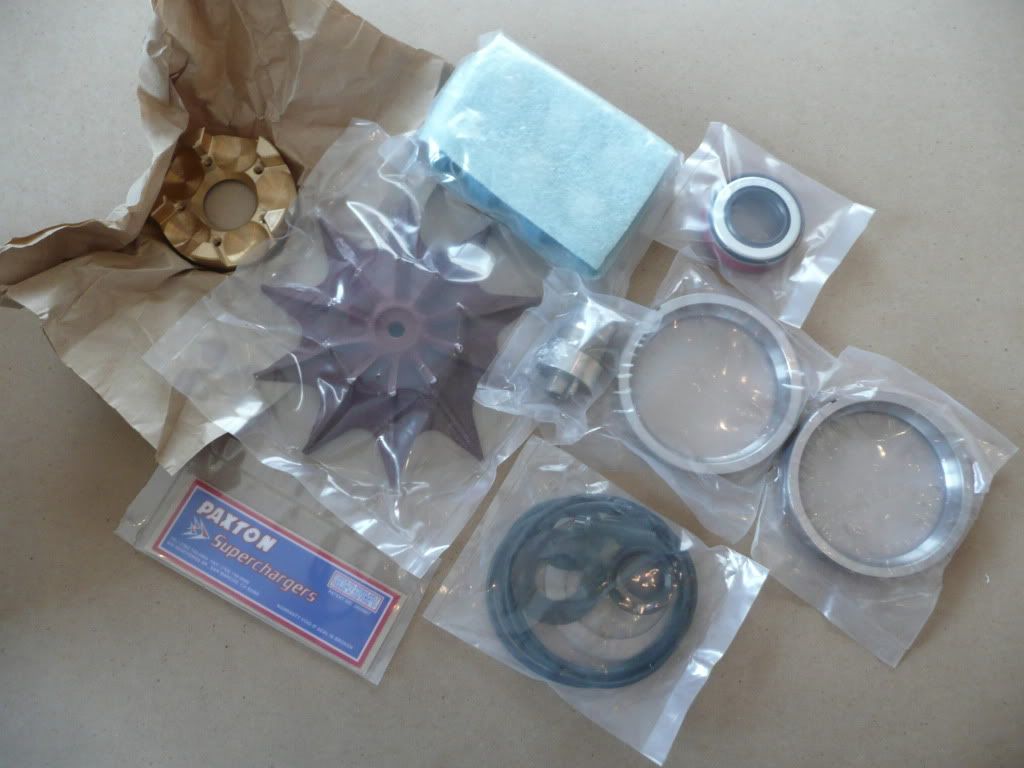
I think a call to Paradise Wheels will definitely be in order very very soon. Lots of new 'goodies' to put on order in preparation for the rebuild.

 Reply With Quote
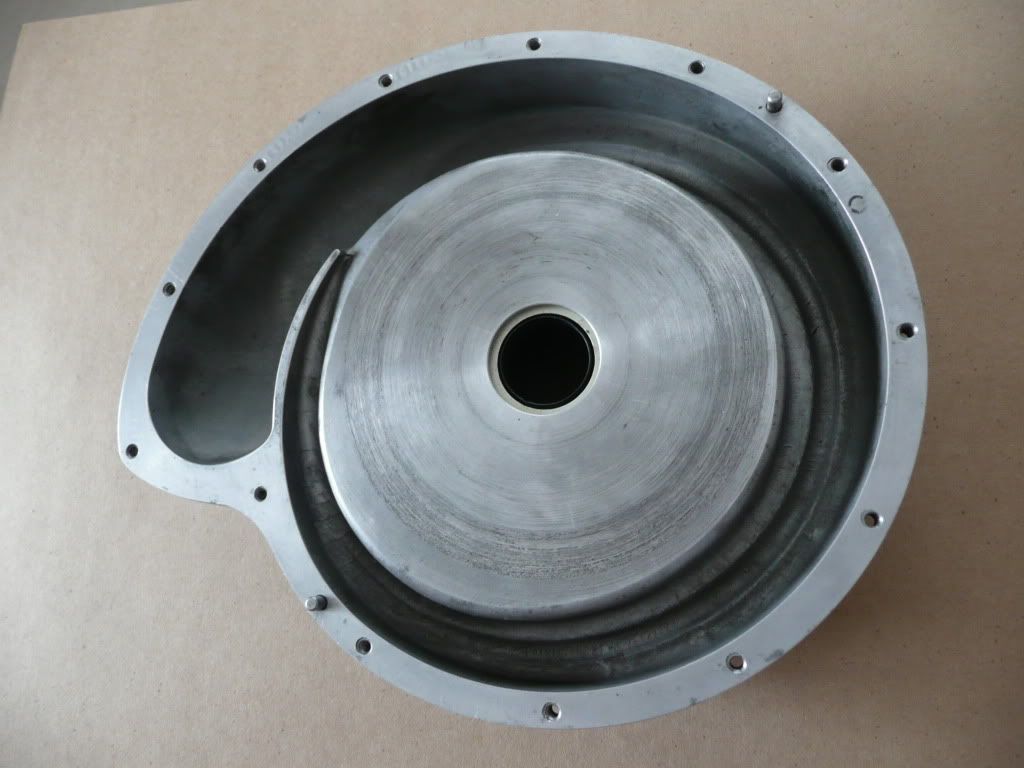


Bookmarks