
Hi i am new on this site.
i have a question for those who have rebuild their paxton sn series superchargers.
how do you hold the impeler to remove it and install it without damaging it.
thanks in advance.


Hi i am new on this site.
i have a question for those who have rebuild their paxton sn series superchargers.
how do you hold the impeler to remove it and install it without damaging it.
thanks in advance.


Welcome to SCH! Glad to have you aboard.
This is from another thread I had started a while back when I was dismantling my own SN89. Not sure if it answers your question exactly, but maybe it'll help:
Below is what I did to remove the impeller shaft from the impeller. This is something I did a couple of weeks ago based on Marco's (pavement pounde) suggestion, but I didn't post any photos of it. I thought I'd do that now.
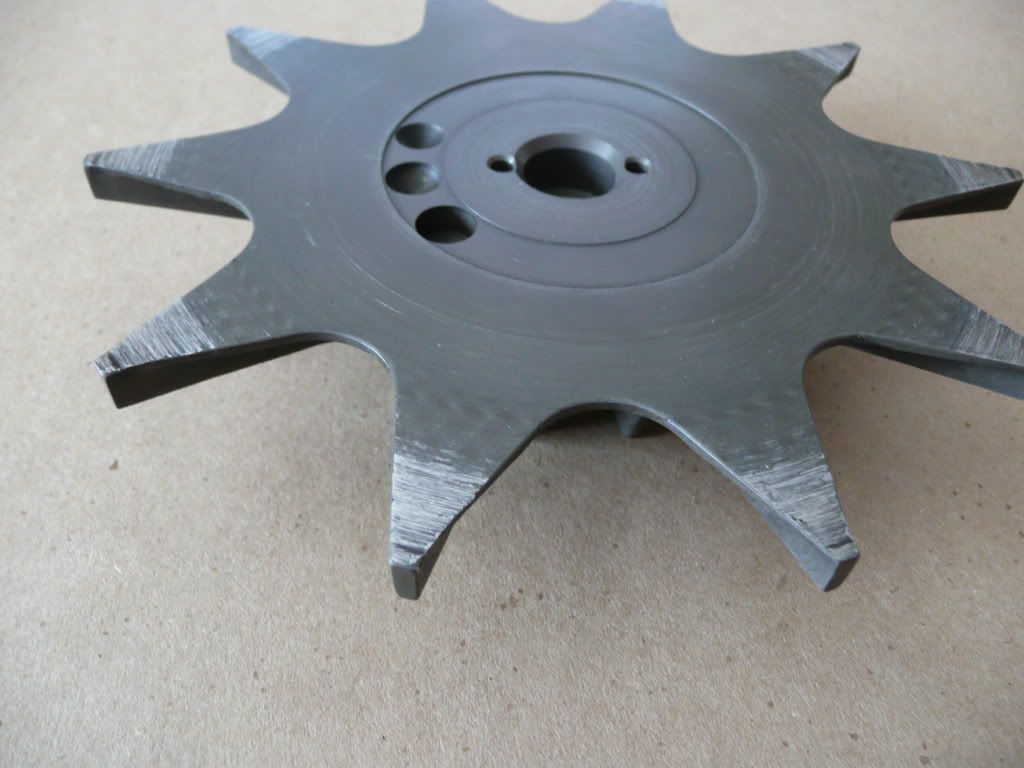
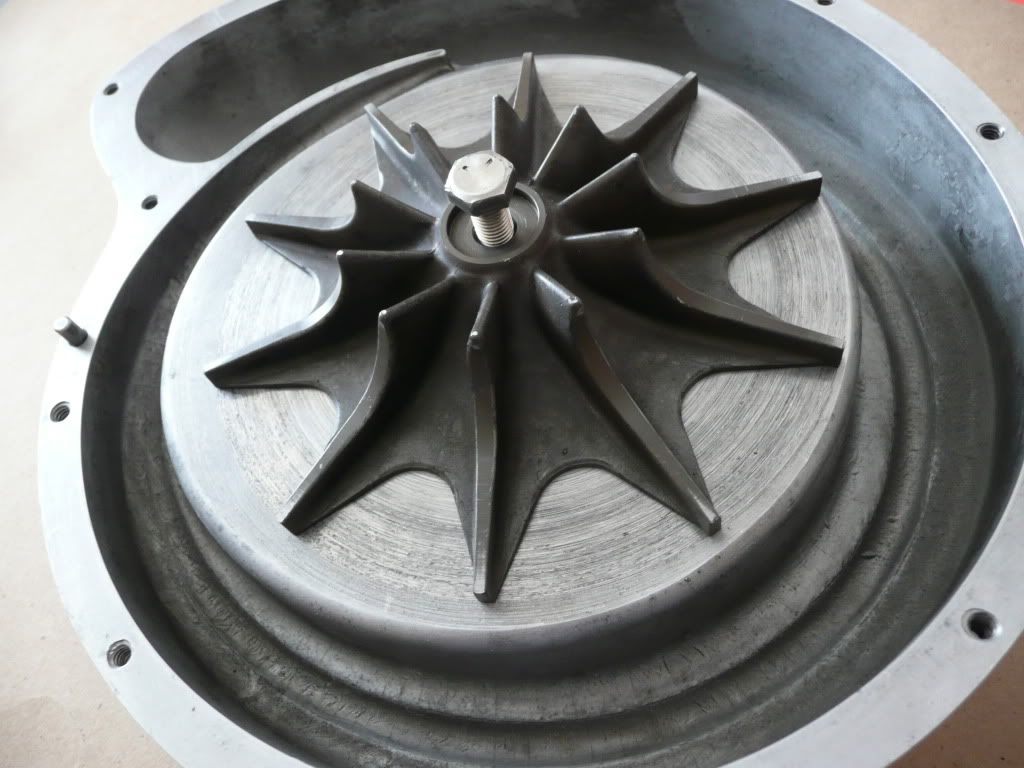
Here's the impeller, impeller shaft, and impeller shims as they came out of the blower. The impeller shaft is a tight (almost press) fit into the impeller itself, which is why I could just simply pull the impeller shaft off the impeller by hand. I'm sure years of heat cycling didn't help the situation either.
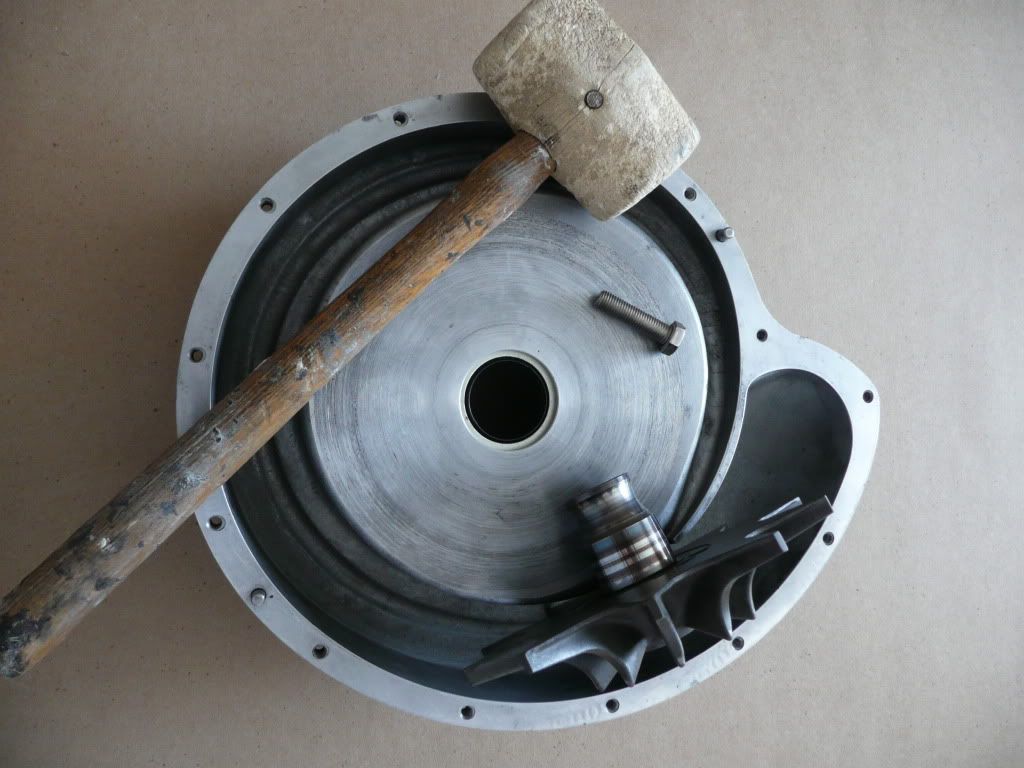
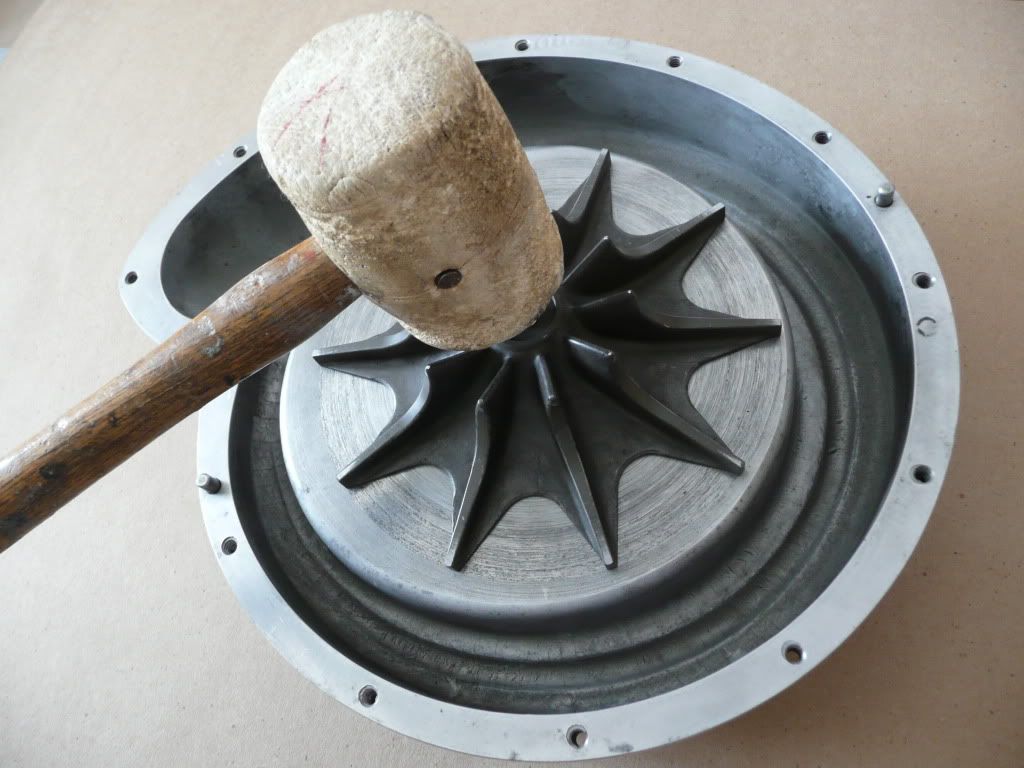
In order to remove the impeller shaft, I used the scroll housing (notice the rear oil seal is still installed), the impeller bolt (without the washer) and a rubber mallet.
I put the impeller, shaft, and shim assembly back into the scroll as it was installed when I first took everything apart. I then threaded the impeller bolt into the impeller shaft a few turns - not all the way down.
Then, using the rubber mallet I tapped the impeller bolt firmly until I felt the impeller shaft start to move. As per Marco's instructions, DO NOT HAMMER! Tap firmly... the impeller shaft will eventually come out.
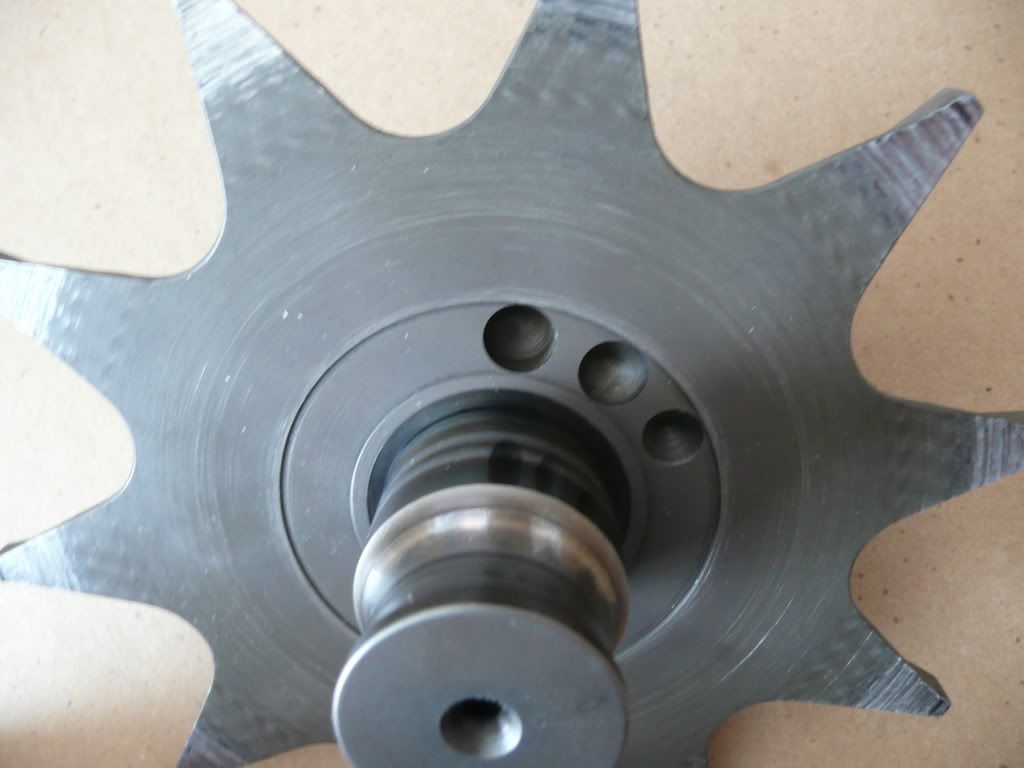
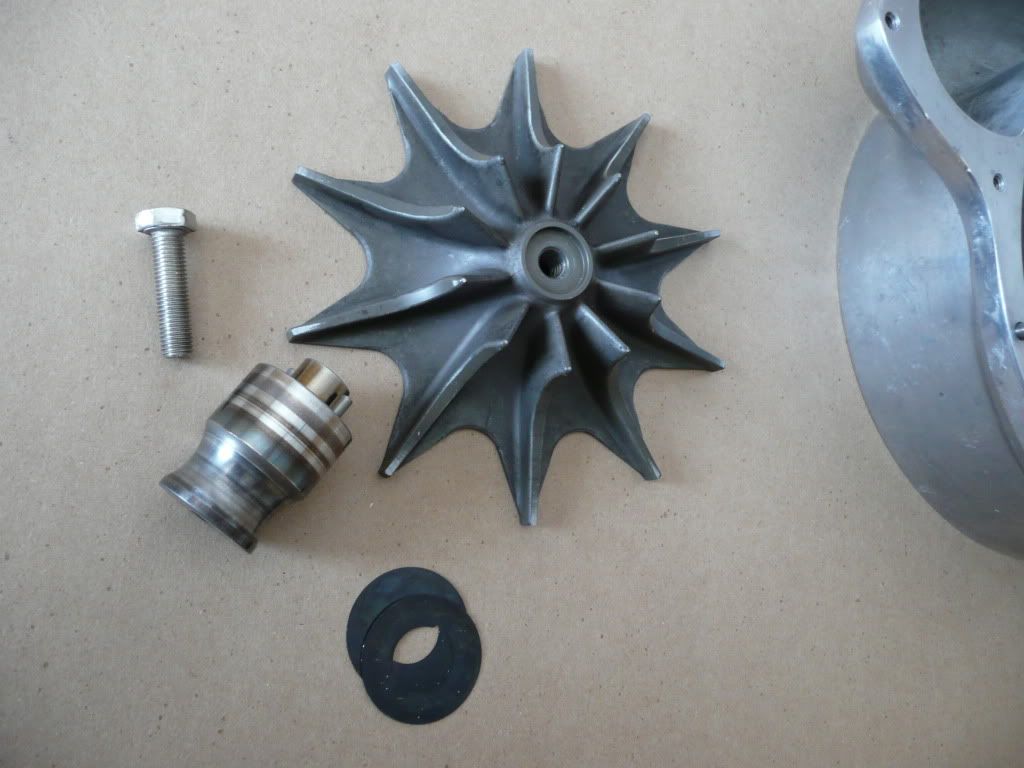
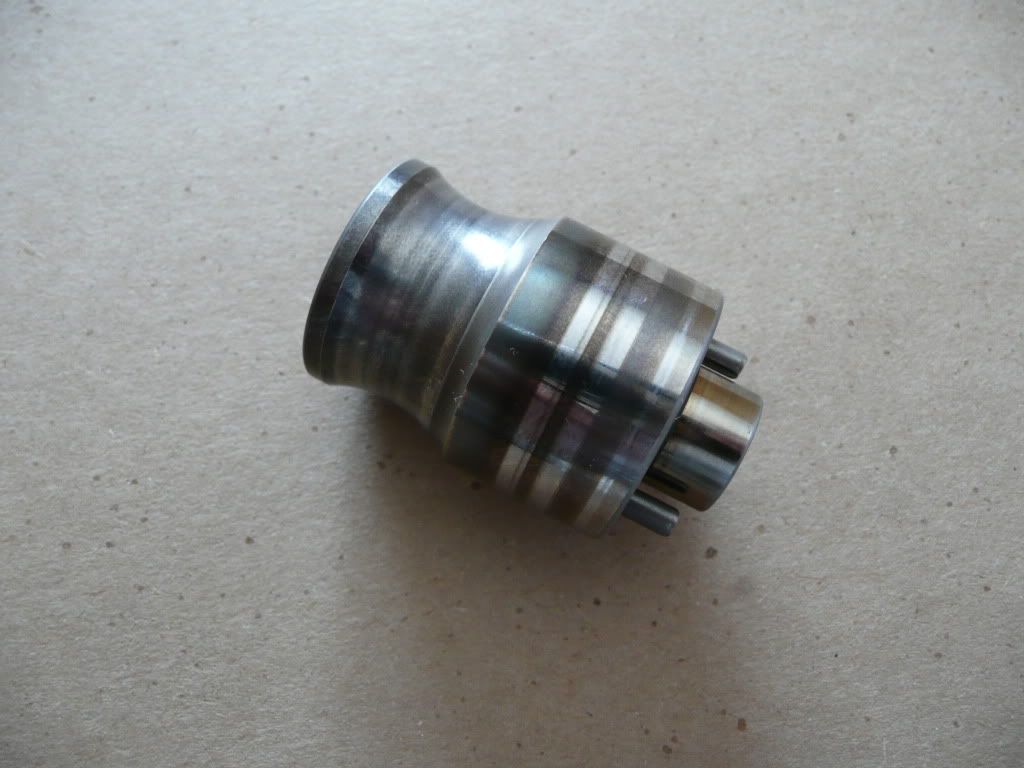
Here's what everything looked like after I removed the impeller shaft and shims from the impeller.
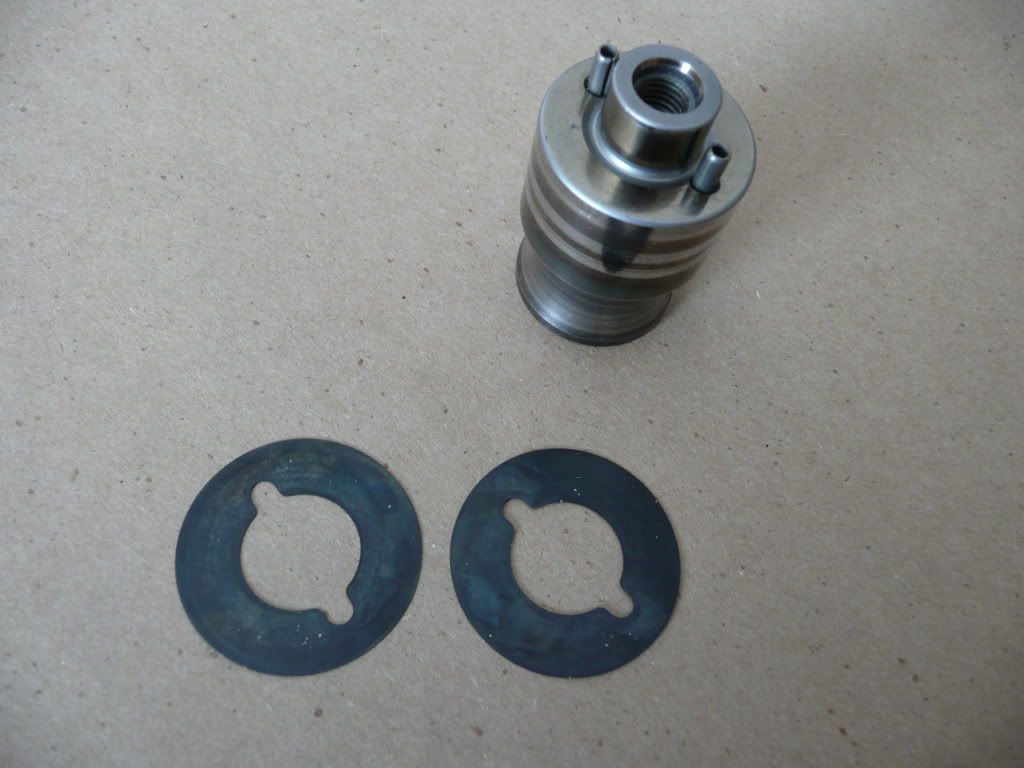
The shims themselves look to be in good shape, but they'll probably get replaced during the rebuild.
Other than some discoloration, the impeller shaft itself looks to be great shape! No scoring or pitting at all. But I'm guessing it will also have to be replaced during the rebuild as well. Too bad... it looks in good shape considering how badly mangled the drive the ball carrier is... the drive balls themselves are pretty bad too... I'll post photos of those as well.
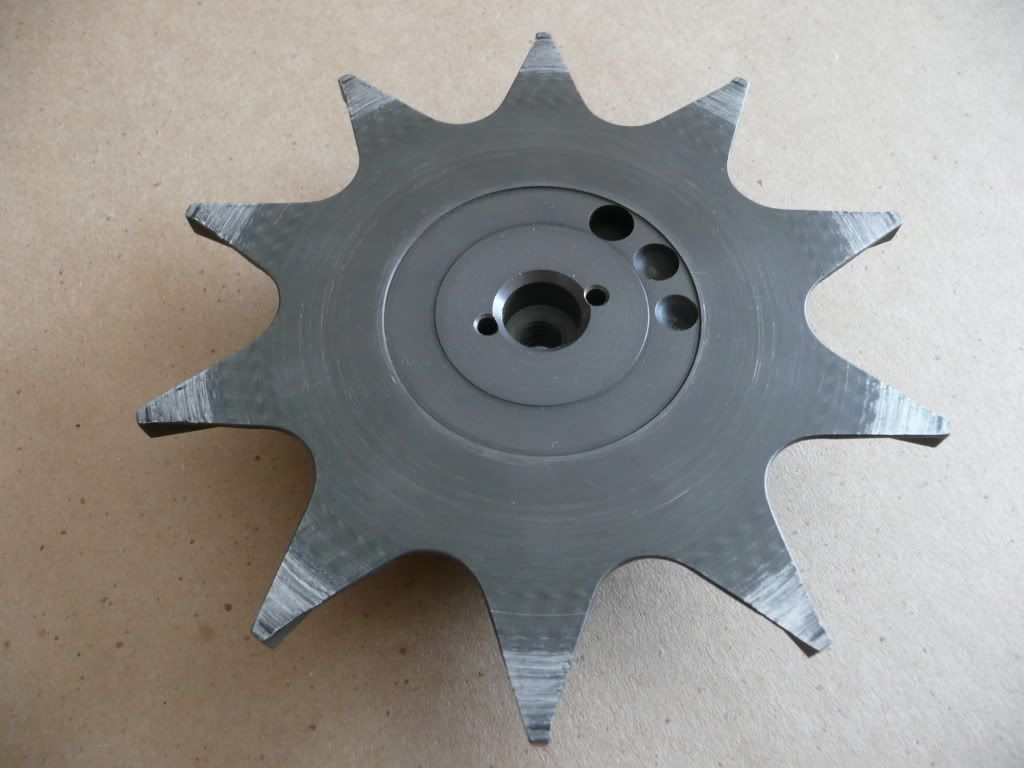
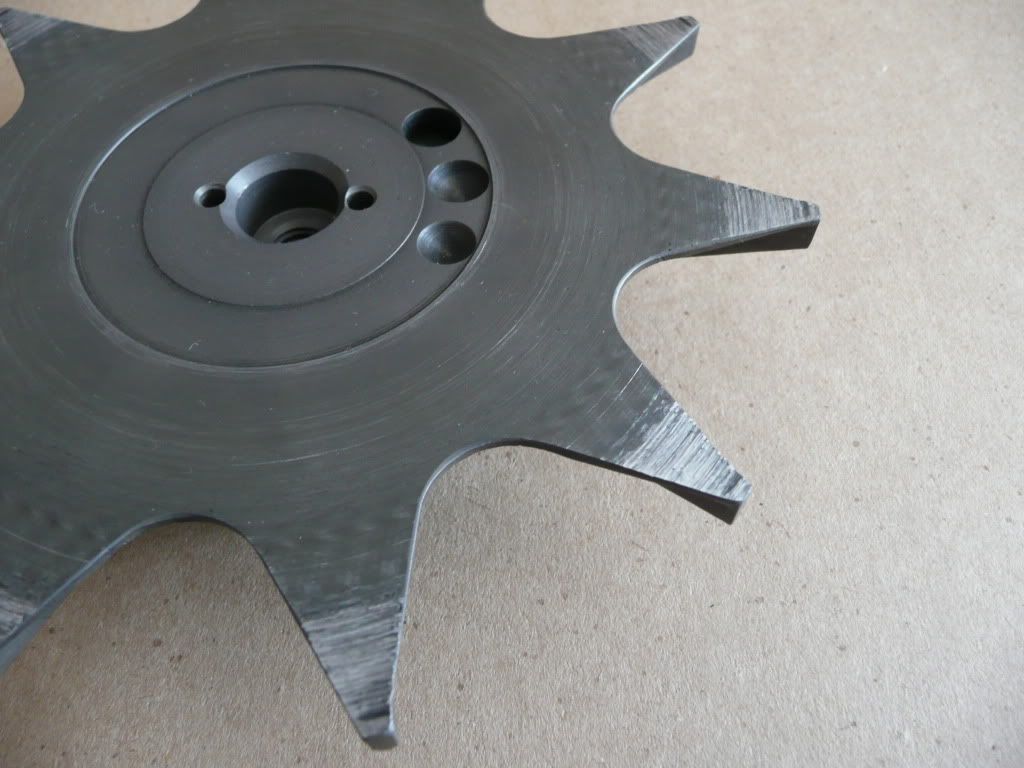
The inlet side of the stock SN impeller looks to be in good shape too with only very slight scuffing along top side of the impeller blades near the tips.
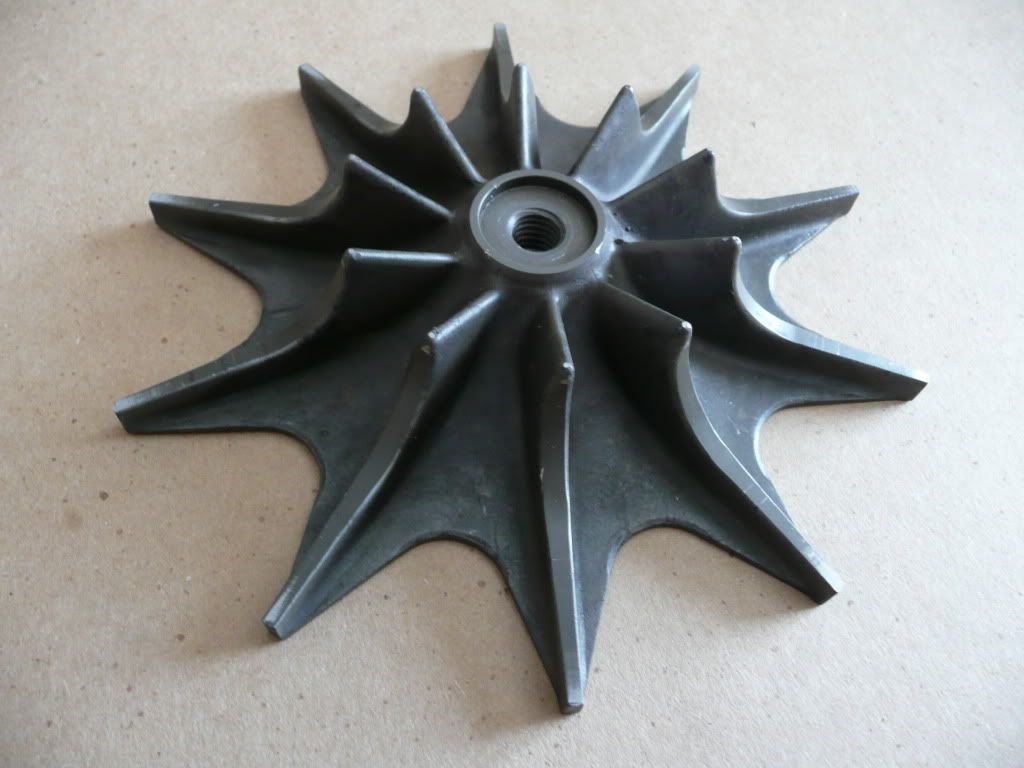
The bottom side, is a slightly different matter. The tips of the impeller blade's bottom surface look to have made contact with the scroll housing itself. I can only assume this is because the impeller wasn't shimmed properly during assembly...? The damage doesn't look too bad, but I'm planning on getting the upgraded "H.O. impeller" for the rebuild so I don't think I'll be reusing this impeller.
Michael
www.superchargerhelp.com
thanks michael for your fast response.
your reply brings me some other question about my impeller condition.
it seems my impeller may be damaged because when i removed the retaining bolt i can just lift it out without any effort.and it even have some rotational play on it.
now about my first question what i meant was what is the best way to hold the impeller to impede rotation while i torque the bolt to 20in/lb to install it back without destroying the impeller.
I want to make sure I understand where you are with respect to the rebuild before I answer your question. I don't want to suggest something that may result in damage to your supercharger or any components.
Do you have the supercharger apart completely? Have you already ordered a rebuild/refresh kit? If so, have you begun the reassembly process or are you staring at a bunch of parts on your bench wondering where to begin?
Michael
www.superchargerhelp.com


What Michael says.
I used a thick welding glove and hold the impeller by hand then while using Locktide treath sealer on the bolt and tightning to what I think is 20 in/lb.
I coud not see another way.
Greets, Marco
'91 Chevy 496SS, Edelbrock Pro-flo 2 injection, alu. GMPP heads, blowercam, coolmist water injection, turbo in the works.
*VIDEO* http://www.youtube.com/watch?v=6ZOdXg0TOdw

Michael I can't see none of the photos would yo repost them? Please. I got my vr 4 apart the sn2000 is a little different inside.
The problem is photobucket does not allow free hosting to websites any more. All you have to do is right click & view image. Or from a android device hold down the picture & view picture in new tab.
How do I get the new bearings back on the shaft?
What do you torque the plate that sits on top of the races to?
 Posting Permissions

 Reply With Quote
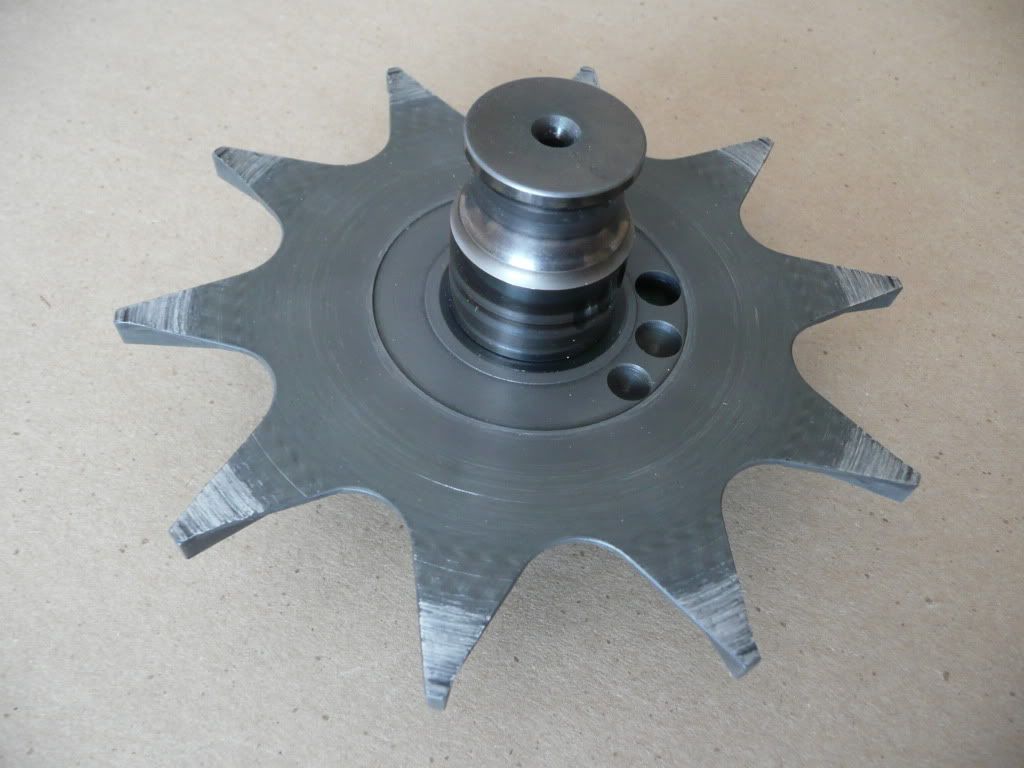
Bookmarks